This one is going to be pretty technical regarding Stable Diffusion and the terminology used with it, so apologies if you’re not familiar.
3 years ago when Stable Diffusion first came out (which is about a billion years in tech time) I was an avid follower of the shiny new techniques and tools for image generation.
Specifically I remember the rise of Automatic1111 as the emerging interface and I even remember when ComfyUI came out, which if you didn’t know the story- happened because the creator got pissed A111 wouldn’t merge his pull request so he built his own interface 😆 (I’ve actually spoke with comfyanonymous, the creator of ComfyUI several times).
About a year into this image generation craze InvokeAI came out (then called just Invoke).
I really liked it! It was simple but powerful, way easier to get working with than A111 with more built-in features, but not impossible to learn like ComfyUI.
For various reasons I stopped following the image generation scene and gave it up, but now the prodigal son is returning. Bing’s DALLE 3 isn’t cutting it for me anymore (specifically due to the lack of img2img capability).
So, here we are diving into using InvokeAI and the Stable Diffusion pipeline again.
The Benefits
The main advantage InvokeAI gives you is the additions of canvas and layers as tools in the image generation and creation process.
If you don’t know already, Stable Diffusion natively supports:
- txt2img: generating an image from a text prompt
- img2img: generating an image while using another as the starting point
- inpainting: selectively regenerating parts of an image based on context from the overall image
But A111 treats this workflow as always modifying one flat image. Think of using MS Paint up until Windows 11, there was no layers or transparency, everything happened in one single image canvas. ComfyUI somewhat can bypass this constraint, but that’s because it’s node-based workflow isn’t really comparable to the iterative process most image editing is.
InvokeAI however, has built in layer functionality, meaning you can generate images at different layers, edit them, and re-order them at will before feeding them back into the Stable Diffusion pipeline.
It also has a canvas feature, meaning you can do all your work in an infinite canvas, generating new images when you want, drawing to help guide the img2img and controlnet process, in the same way you’d use traditional tools like Photoshop. Oh, did I mention it also has a node workflow feature, similar to ComfyUI if you want it? (yeah, it’s pretty rad).
Then the Fire Nation Attacked
Unfortunately, InvokeAI has had a whole interface and workflow change since I last used it about 1.5 years ago.
For perspective, this is what it used to look like (~v3):
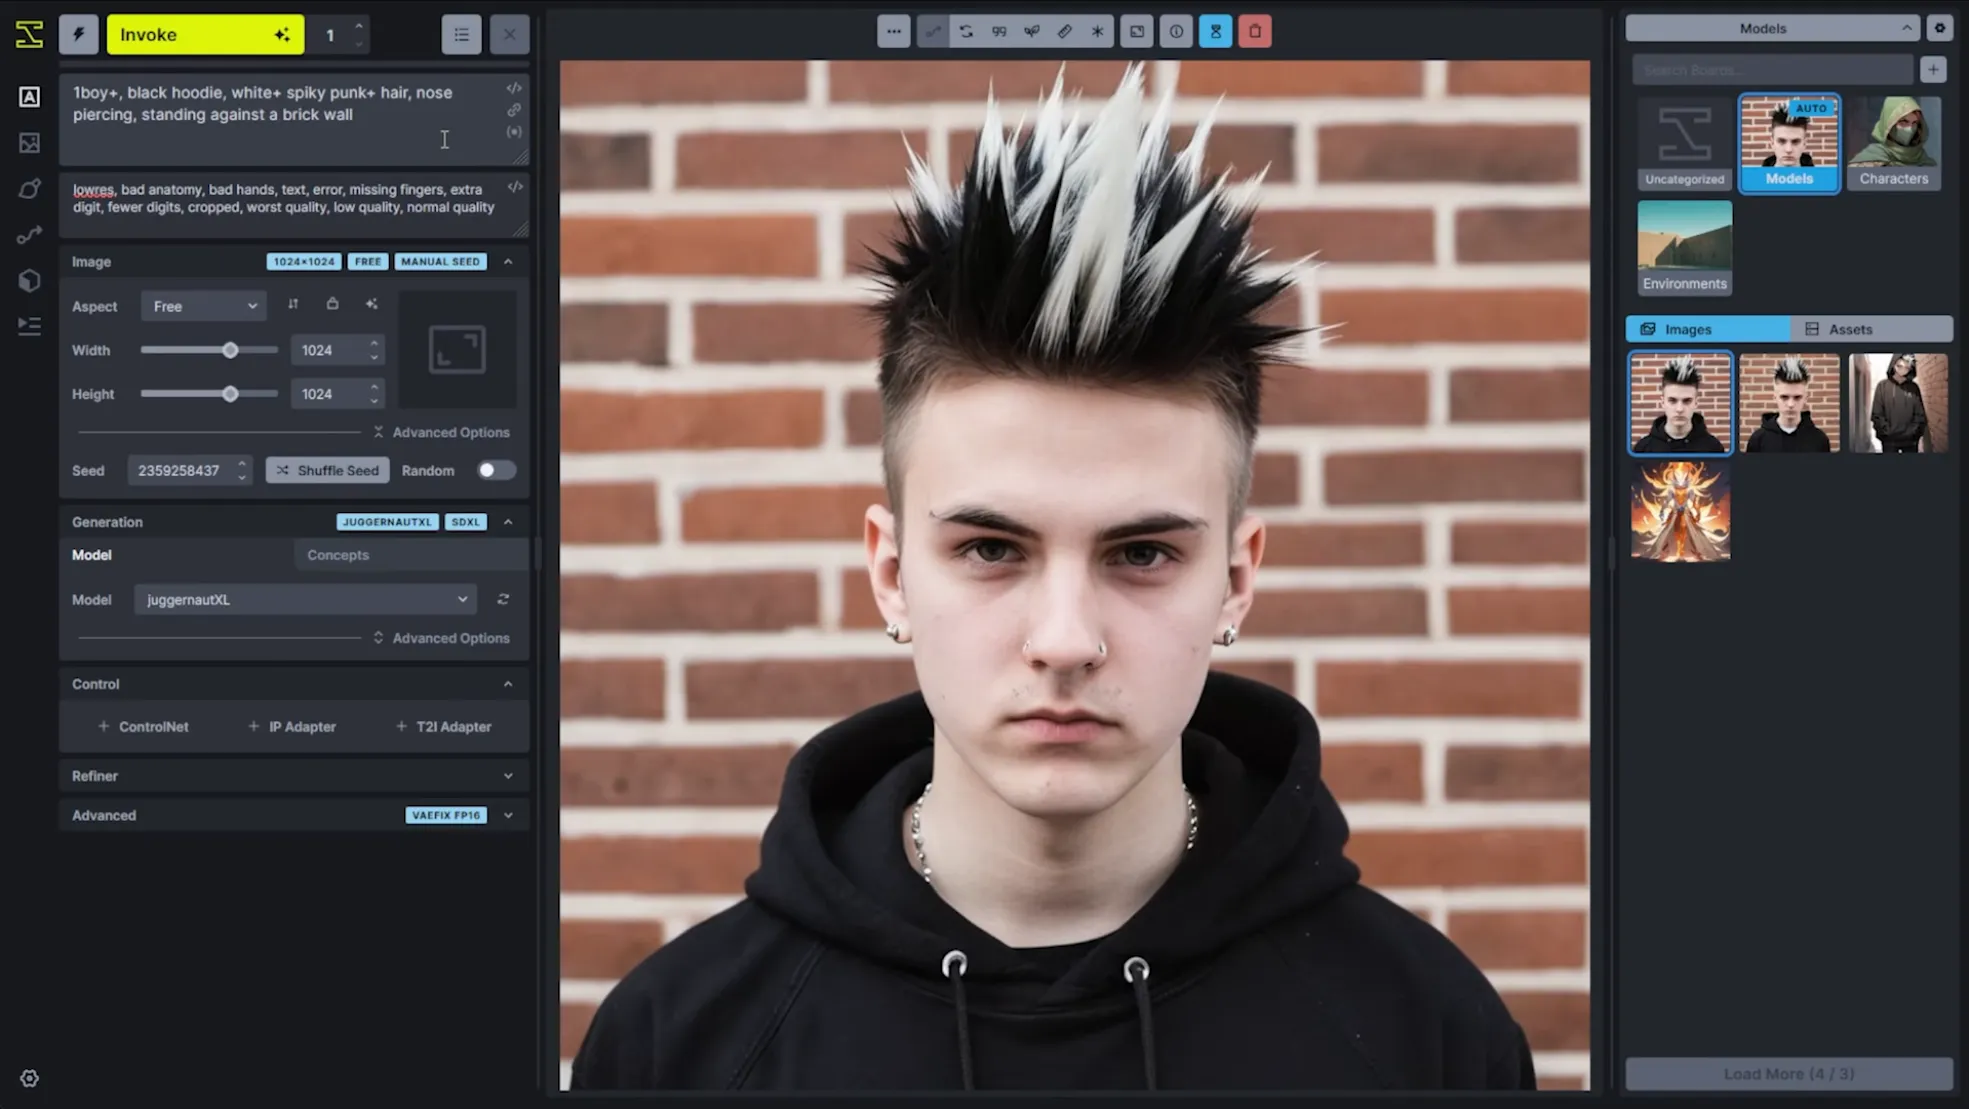
And this is what it looks like now (~v5):
It doesn’t look all the different, but take my word for it that the workflow is entirely new. For instance, the old one had dedicated tabs on the left for your different workflows:
- txt2img
- img2img
- inpainting & canvas
- node workflows
Now pretty much all of that happens in the main tab, the canvas. At first I didn’t like this, but after learning the new workflow I agree with the Invoke team that it’s really good for iterative, creative work. If you’re trying to 1-click-gen a perfect image with a gazillion ComfyUI nodes, this probably isn’t for you.
Doing the deed
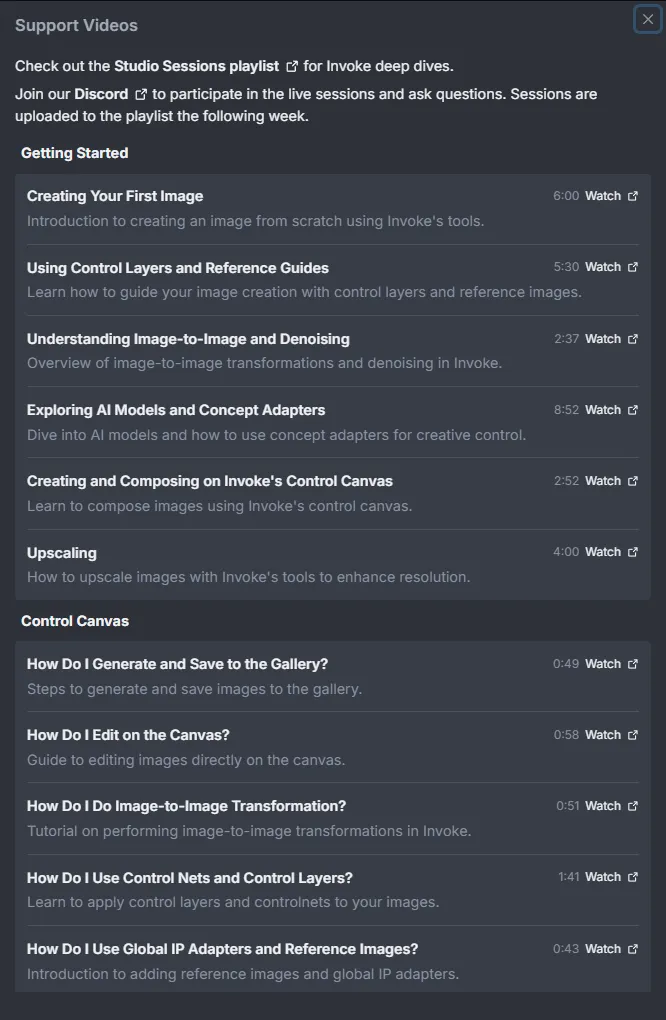
If you wanna get going with this, I recommend the InvokeAI Github, their docs, and especially the InvokeAI YouTube channel.
They have a sick help button in the interface that links you to those videos.
 I’m personally using the official Unraid docker container image to run this locally on my own hardware.
Install models
Go get some models! The built in downloads for FLUX, SD1.x and SDXL models are pretty great, and I’d just recommend starting there. However, I did have to make some edits to the invokeai.yml config file to give it my civit.ai and huggingface.co API keys so I could download some custom LoRAs and other models.
Gen some stuff
My first test was just generating a simple pixel art version of my avi, using a SDXL LoRA:
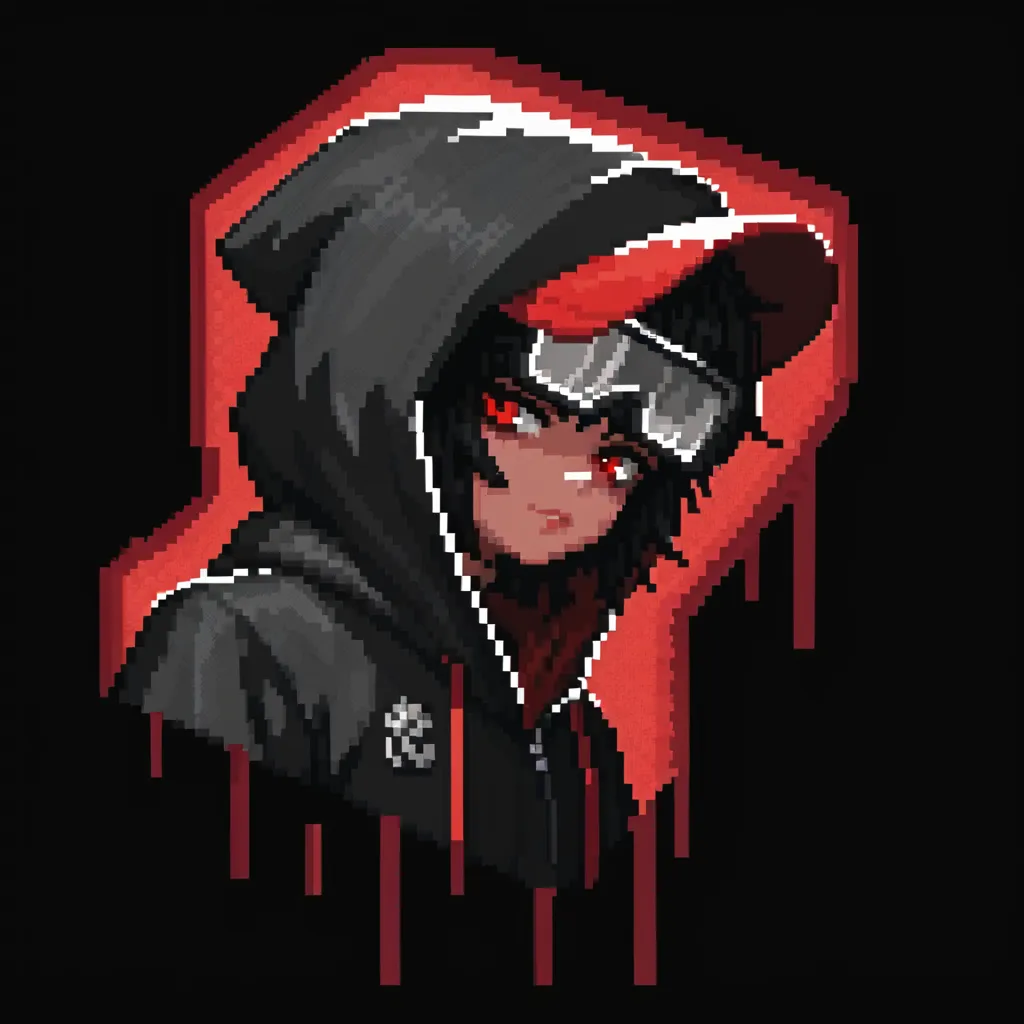 (dunno why it made me into an anime girl, but hey it’s pretty good so I’ll take it)
The thing I was actually hoping to accomplish was a new header/background image for my various socials.
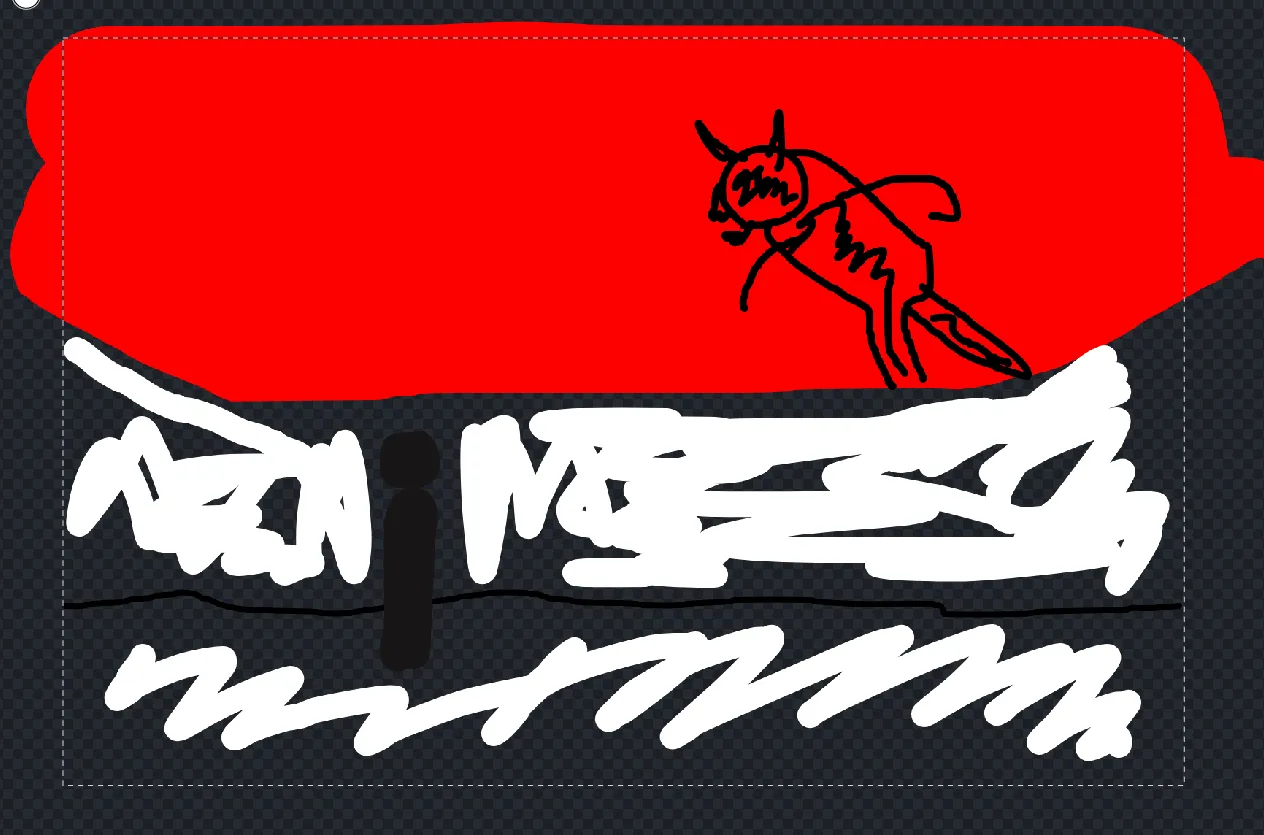
I had a vague idea of what I wanted, and I drew that idea very crassly onto the canvas using New Layer > New Raster Layer:
That somehow miraculasly turned into something like this after a bunch of tries:
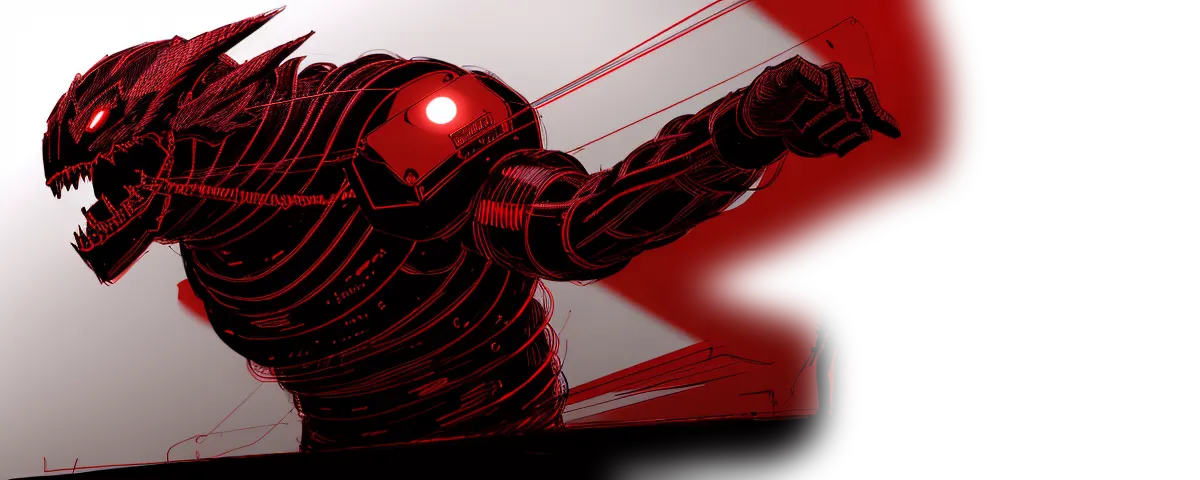 Which was a good start, now comes the iteration process.
Iterate + invoke
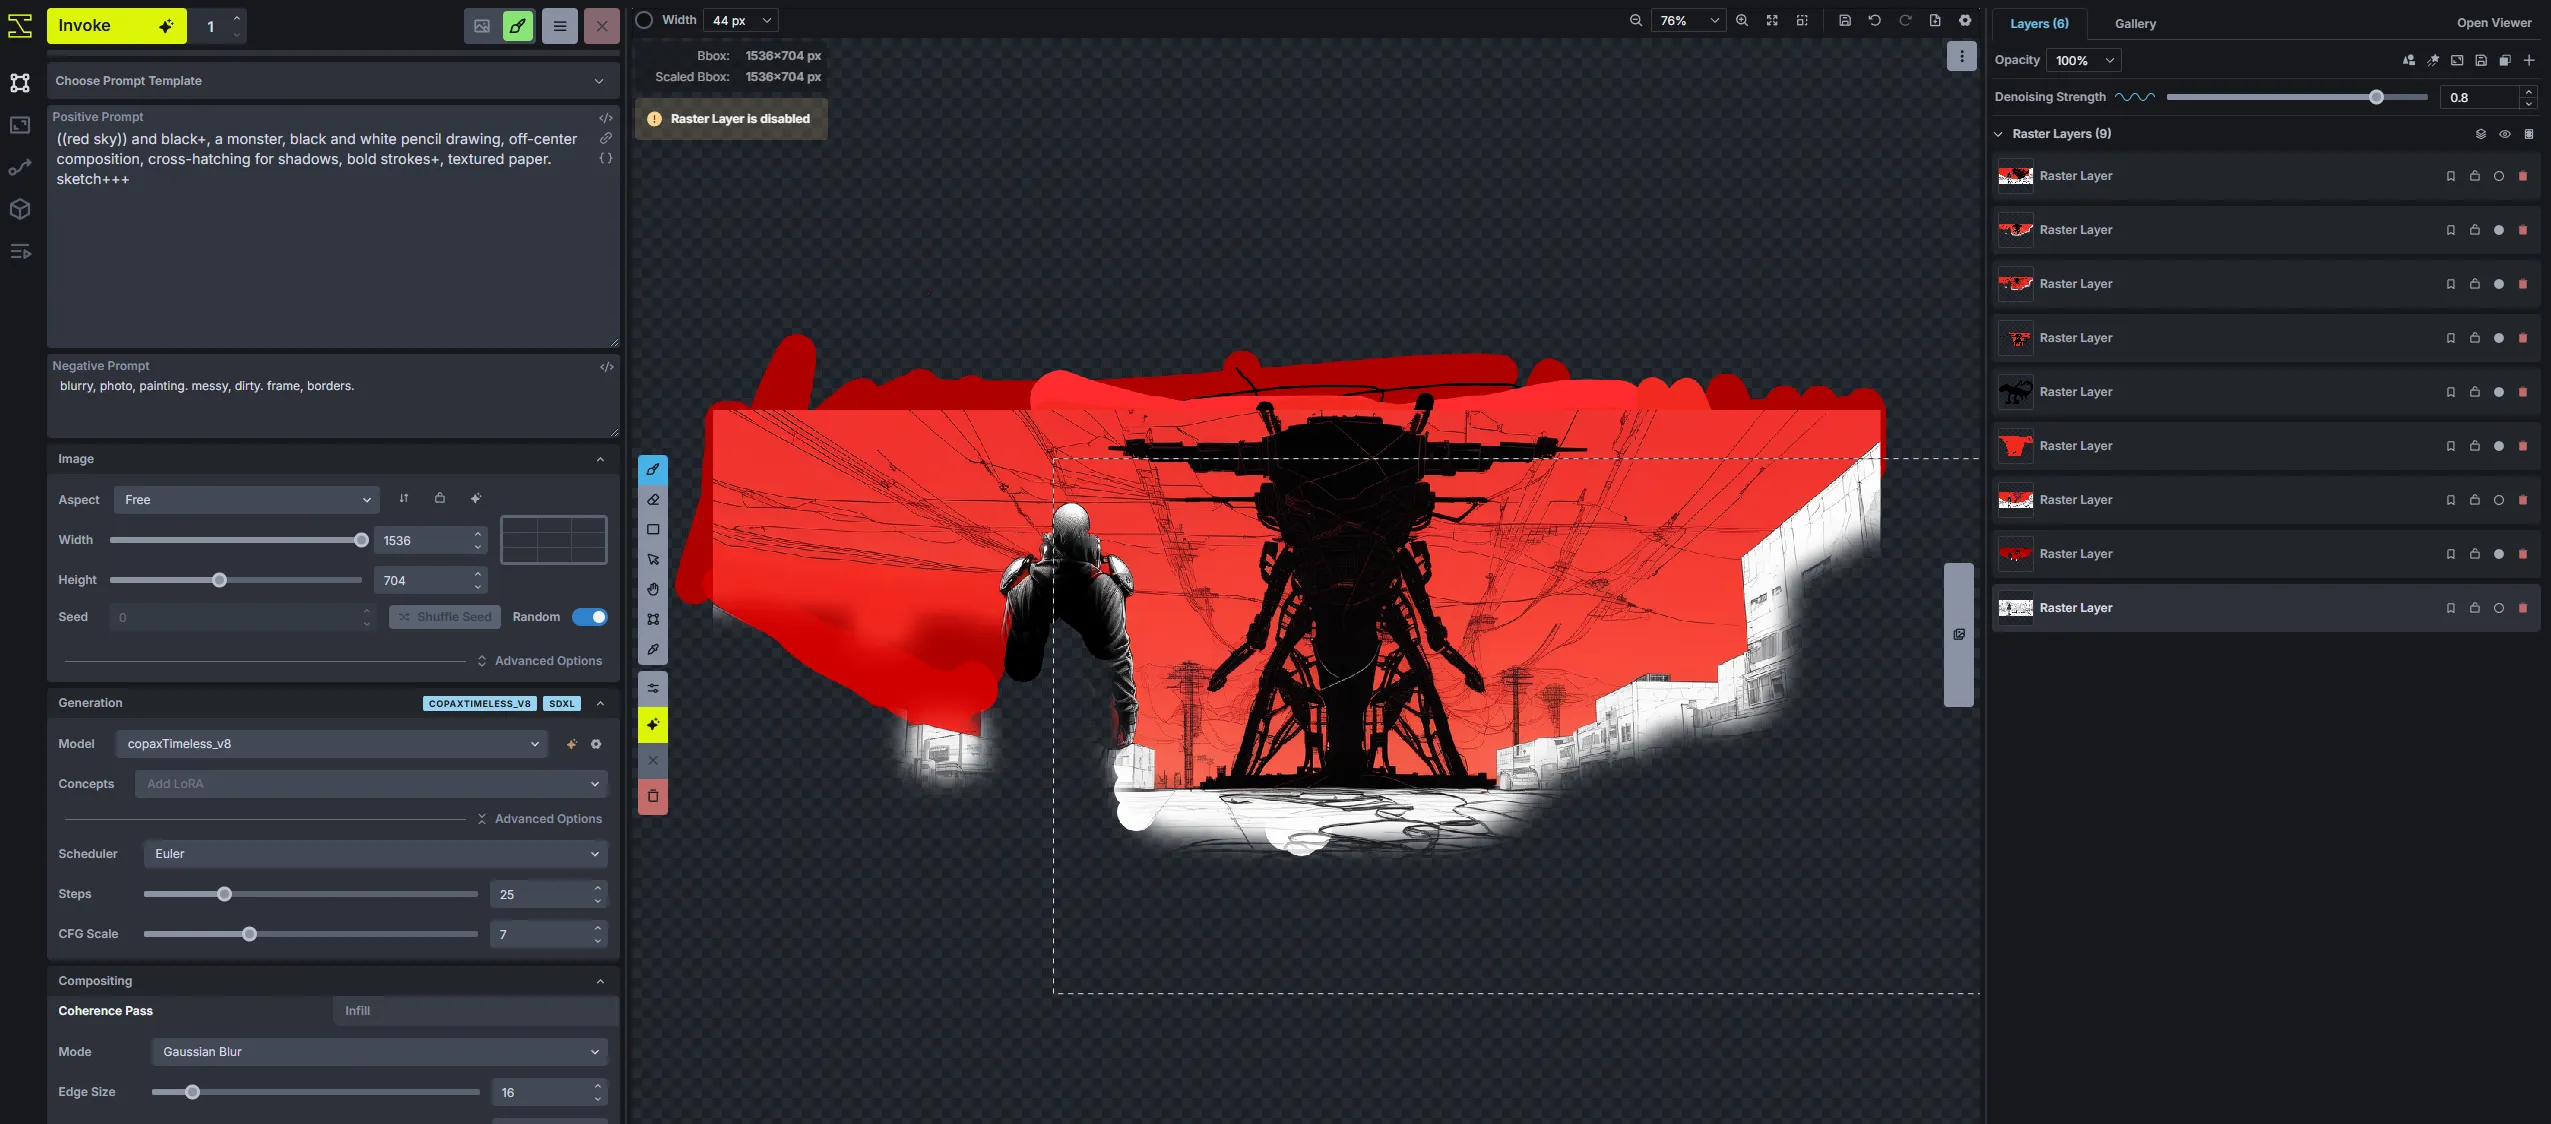
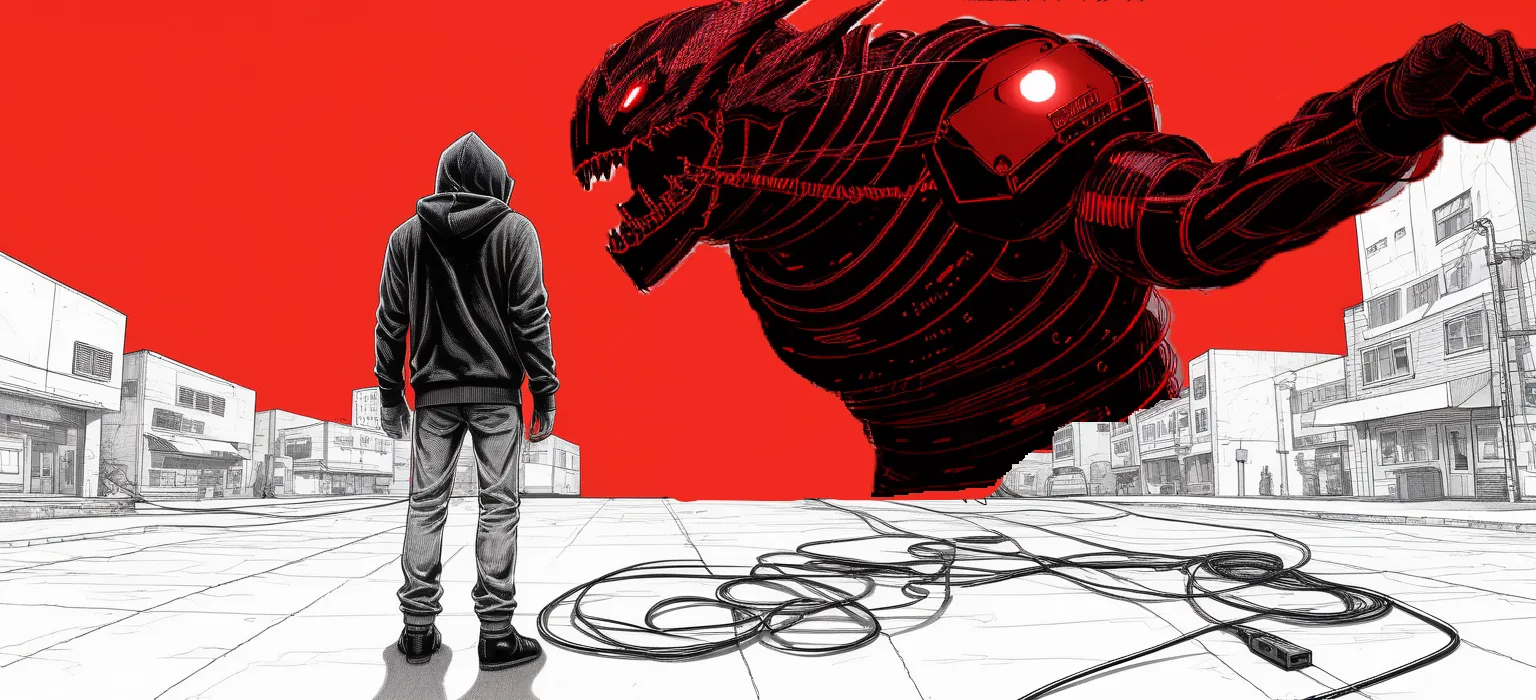
This is where Invoke really shines, create new layers -> generate new images -> cut out the good stuff -> repeat. After a while I got a foreground going I was really digging:
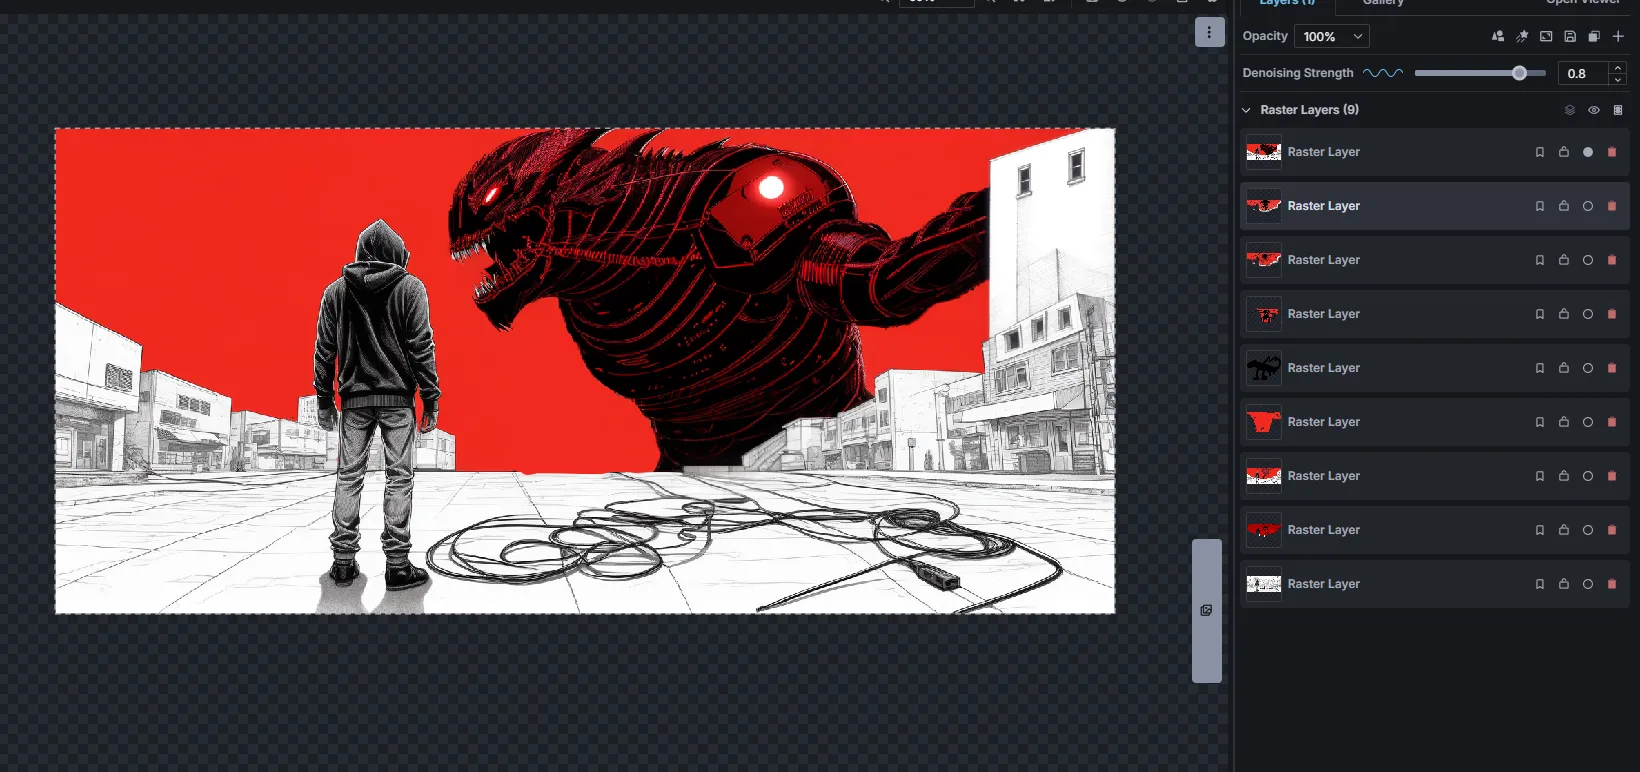
 I had cut out the monster from the previous work and stuck him in the background. His hand was a lil' AI messed up, but rather than fix it I decided to just scale the building on the right up and hide it. Note all the layers to the right, a combination of inpainting and raster layers:
 I kept going, inpainting the edge pieces and making everything "connect" more while trying to still be artistic.
One thing for the InvokeAI team, I encountered a bug with the ‘transform’ tool on the canvas, it was super hard to get working properly, and I straight up could never get it to rotate the raster layer I wanted it to. You’ll be seeing a very polite bug ticket from me, and hopefully a PR request with a fix eventually.
Upscale & finish
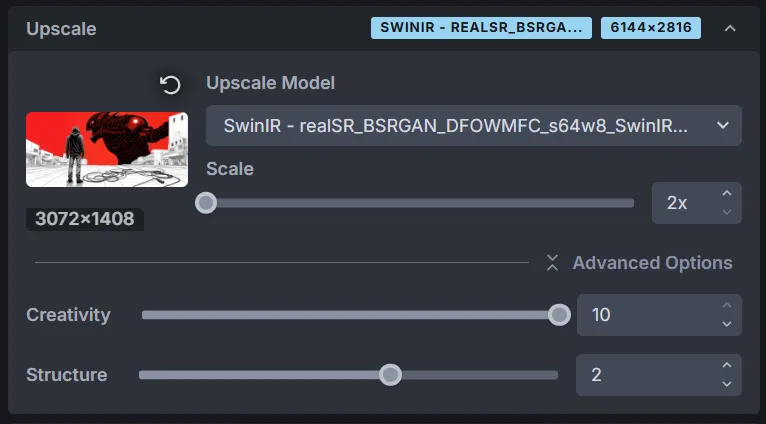
Once I was happy with the result, the last thing was to use the very clean Upscale feature to make the image higher quality, and also “mesh” everything together more cohesively.
Moving over to the Upscale tab, I doubled the pixel count and cranked up the Creativity slider, to let it interpret more details stylistically. I used the same initial prompt and model I had been using before.
Fin
And here’s the finished header:
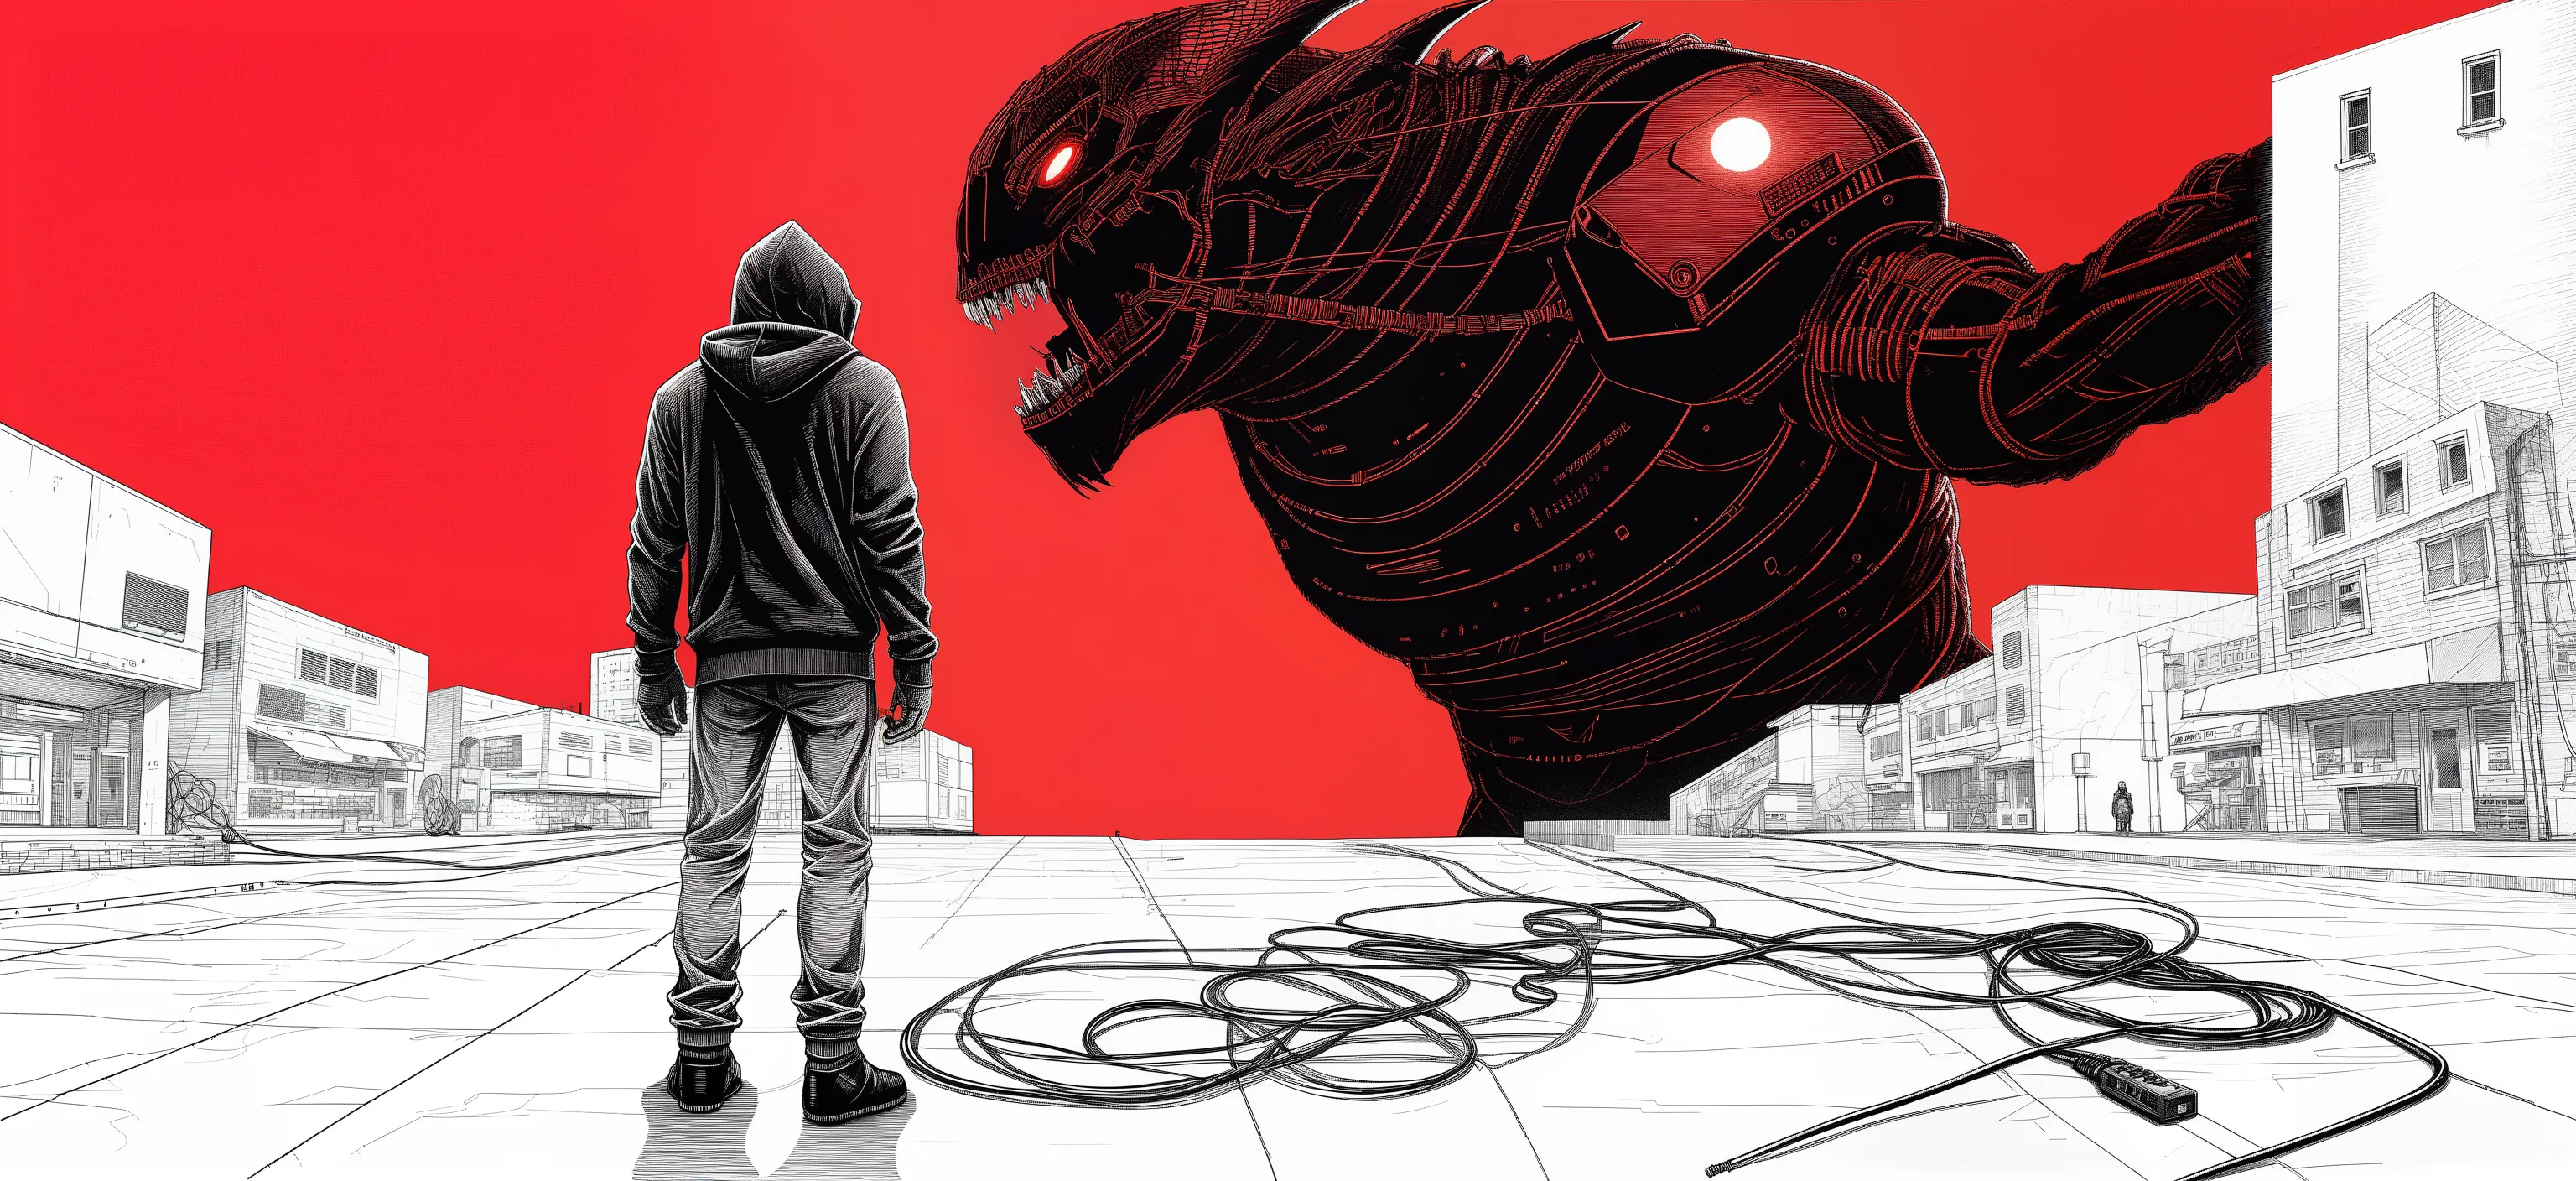
There’s some parts I’ll probably redo in the future, I had some cool ideas come out of this process, but for know it works just fine. I spent a little bit of time in Photopea posterizing the image and tweaking the red colors to match my avi, but besides that almost everything was done in Invoke.
Don’t really know how to end this one, but shoutout to the InvokeAI team for the great work they’re doing, I hope to see it grow even more.