I wasn’t planning on writing this blog post, but after I posted about my laser on 𝕏, a crazy amount of people DM’d me asking for help and advice with using one.
Laser engraver finally up and working, need some test images- reply to this and I’ll engrave your avi against your will pic.twitter.com/7bg2iH8ZaM
— Async (@asynchronous_x) March 9, 2025
Seriously, had no idea this post would blow up that much, I’m STILL engraving replies to it.
So, here’s a small crash course in laser engraving. Full disclosure, I’m a total novice at this, I barely set up my laser this week and I’ll do my best to teach you what small amounts I’ve learned.
Laser Engraving 101
Laser engraving uses a focused beam of light to etch or cut designs into stuff. A laser source (diode, CO2, or fiber) vaporizes the surface, guided by the instructions set by the software (if you’re familiar with 3D printing, this instruction set is exactly like the GCODE that a slicer outputs for a printer).
There’s a few different types of laser engravers, each with different strengths and weaknesses:
-
Diode Laser Engravers ($160 - $600)
- Strengths: Affordable, compact, good for engraving wood, leather, and some plastics; easy to use for beginners.
- Weaknesses: Lower power (typically 5-20W), struggles with cutting thick materials or engraving metals without coatings; slower compared to other types.
-
CO2 Laser Engravers ($1600 - $3500)
- Strengths: Versatile, higher power (40W+), excellent for cutting and engraving wood, acrylic, glass, and fabric; faster than diode lasers.
- Weaknesses: More expensive, larger footprint, requires more maintenance (e.g., tube replacement), and needs proper ventilation due to gas-based operation.
-
Fiber Laser Engravers ($3000 - 🤑)
- Strengths: Precise, powerful (20W-50W+), excels at engraving metals and hard plastics; long lifespan and low maintenance.
- Weaknesses: High cost, less versatile for organic materials like wood or fabric, overkill for most hobbyist needs.
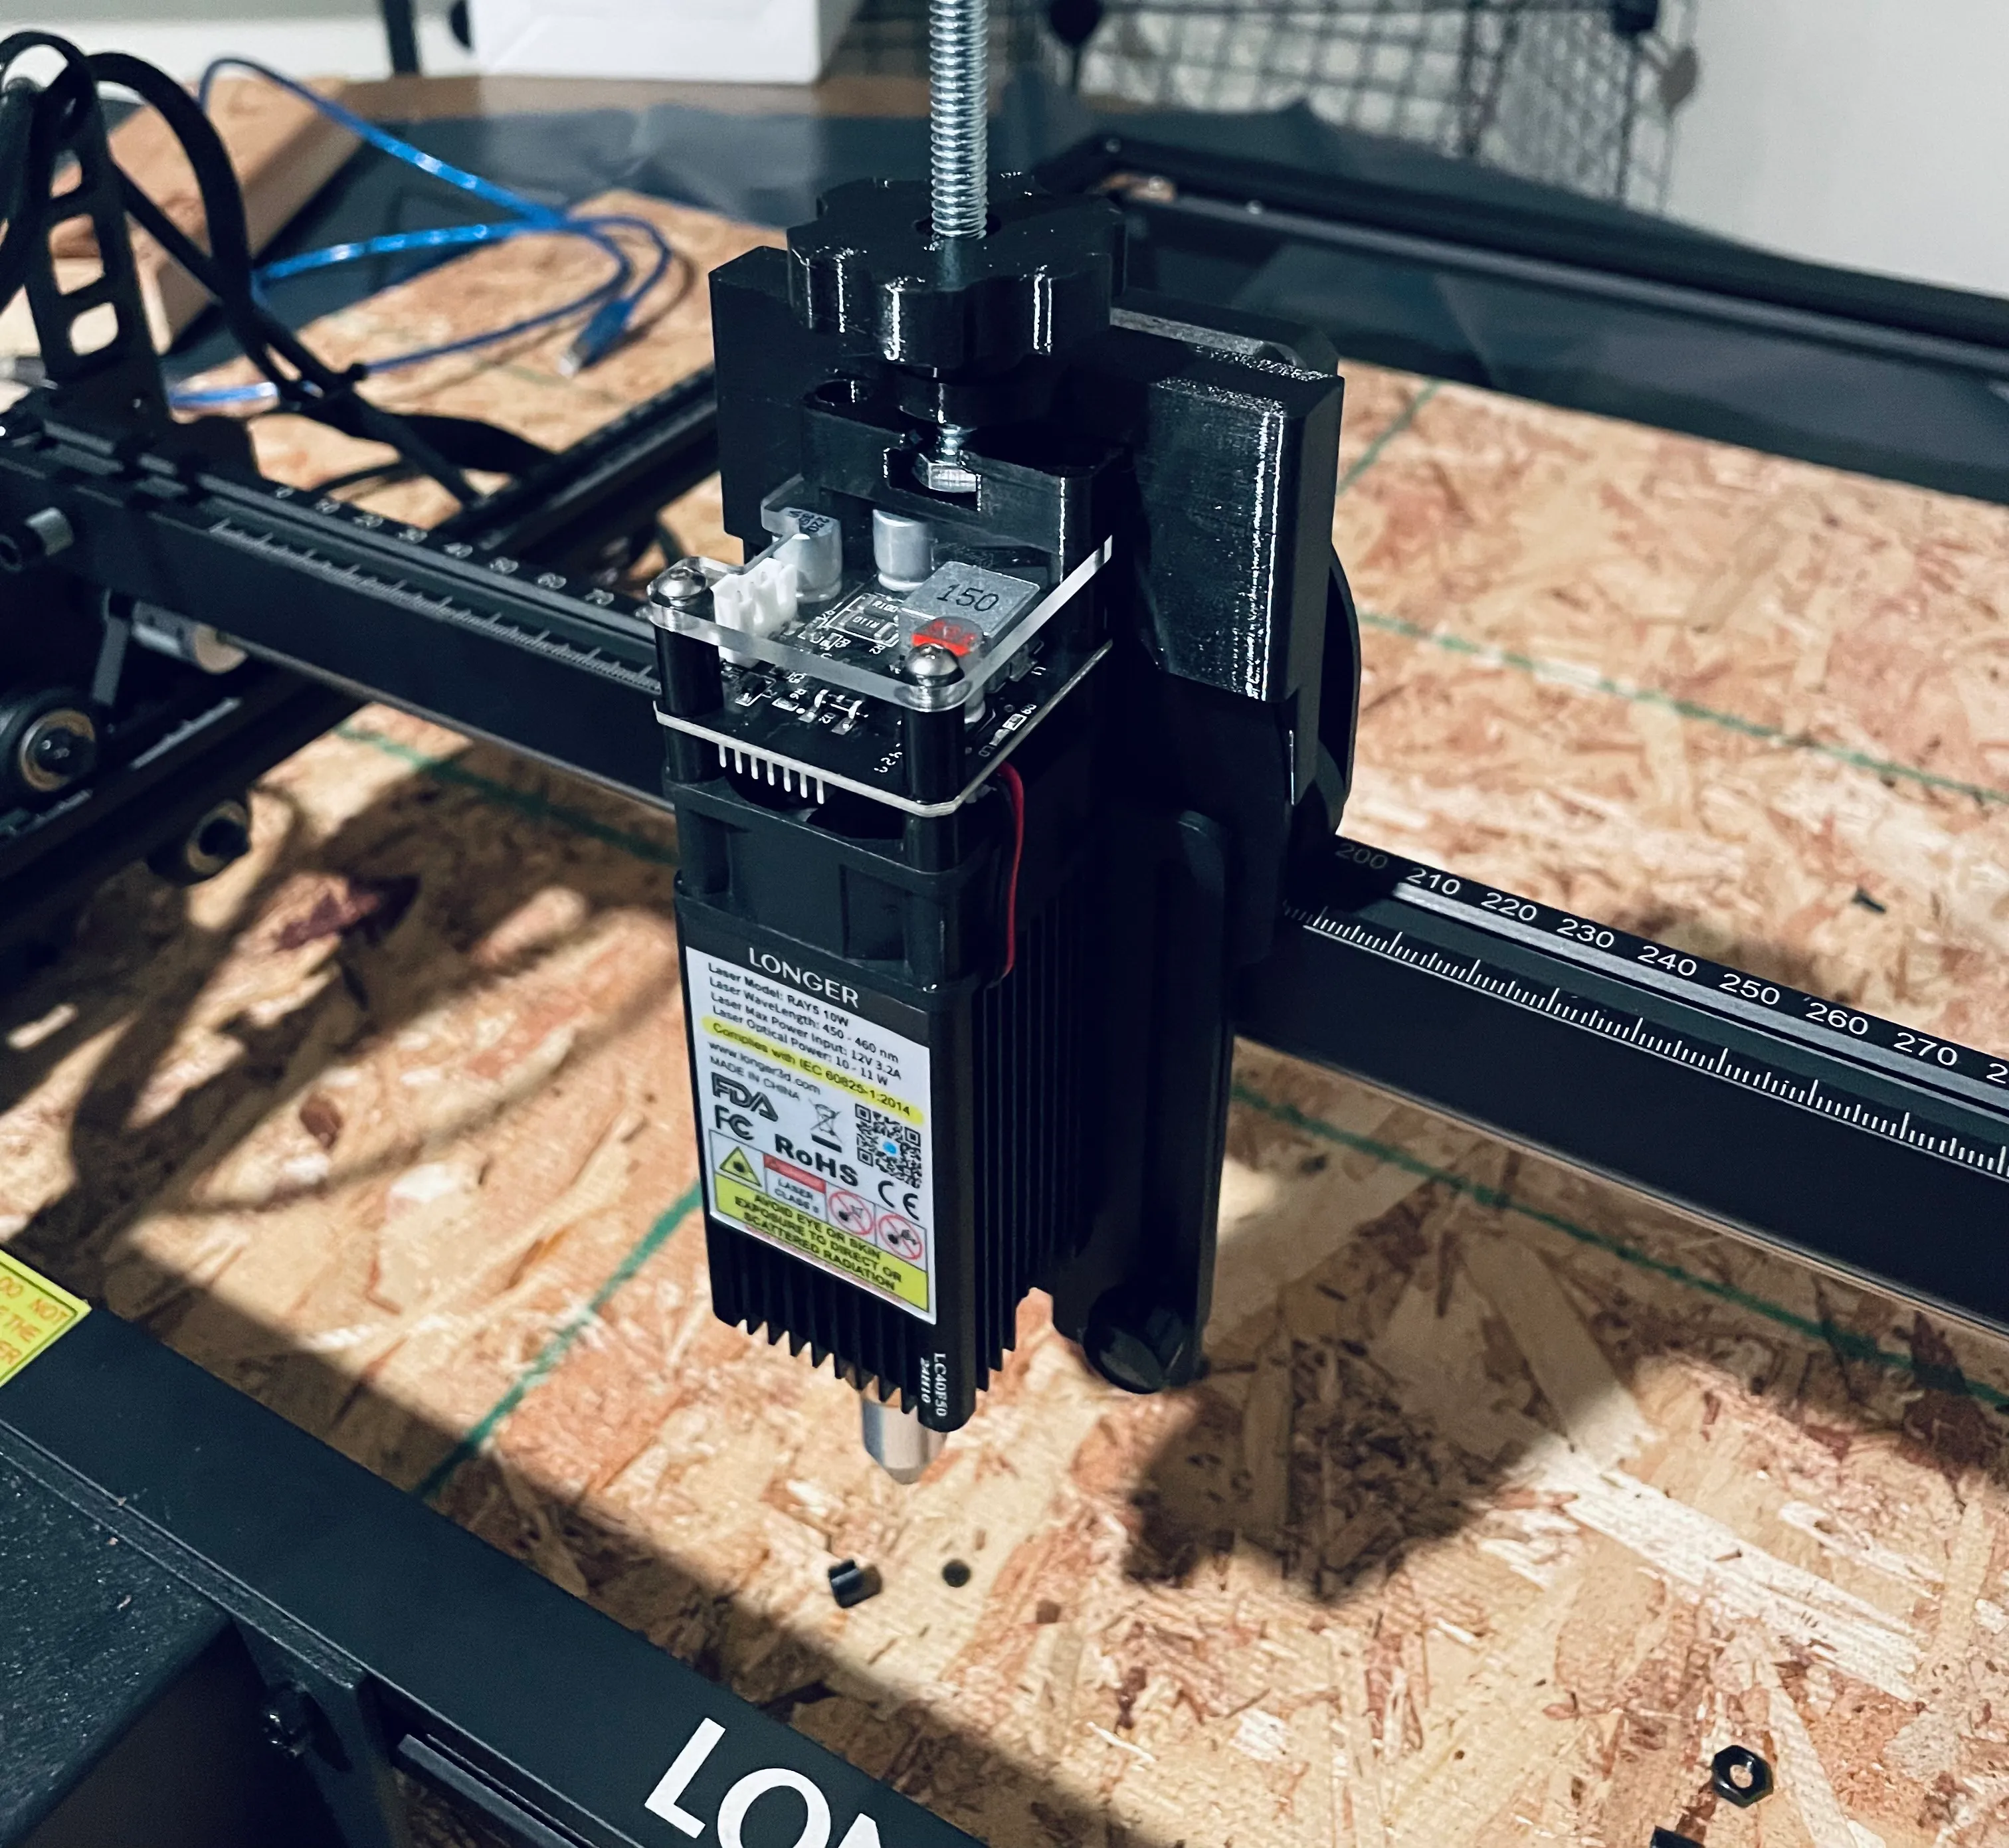
What I have here is a Longer Ray5 10W Diode Laser, which is about $240 USD at the time of writing. I bought it primarily because I wanted to cut fabric patterns and engrave stuff from time to time (it was also on sale and I have low self-control).
Depending on what you want to do with it, I would say it’s hard to go wrong with a Diode laser for the price. It can cut quite a bit of fabric, leather, and wood, and engrave a lot of stuff, at least for a hobbyist like myself.
Setting up the laser
First, I took stuff out of the box. This laser has a “working area” of about 400mm by 400mm, which is about 16” by 16” in burger units.
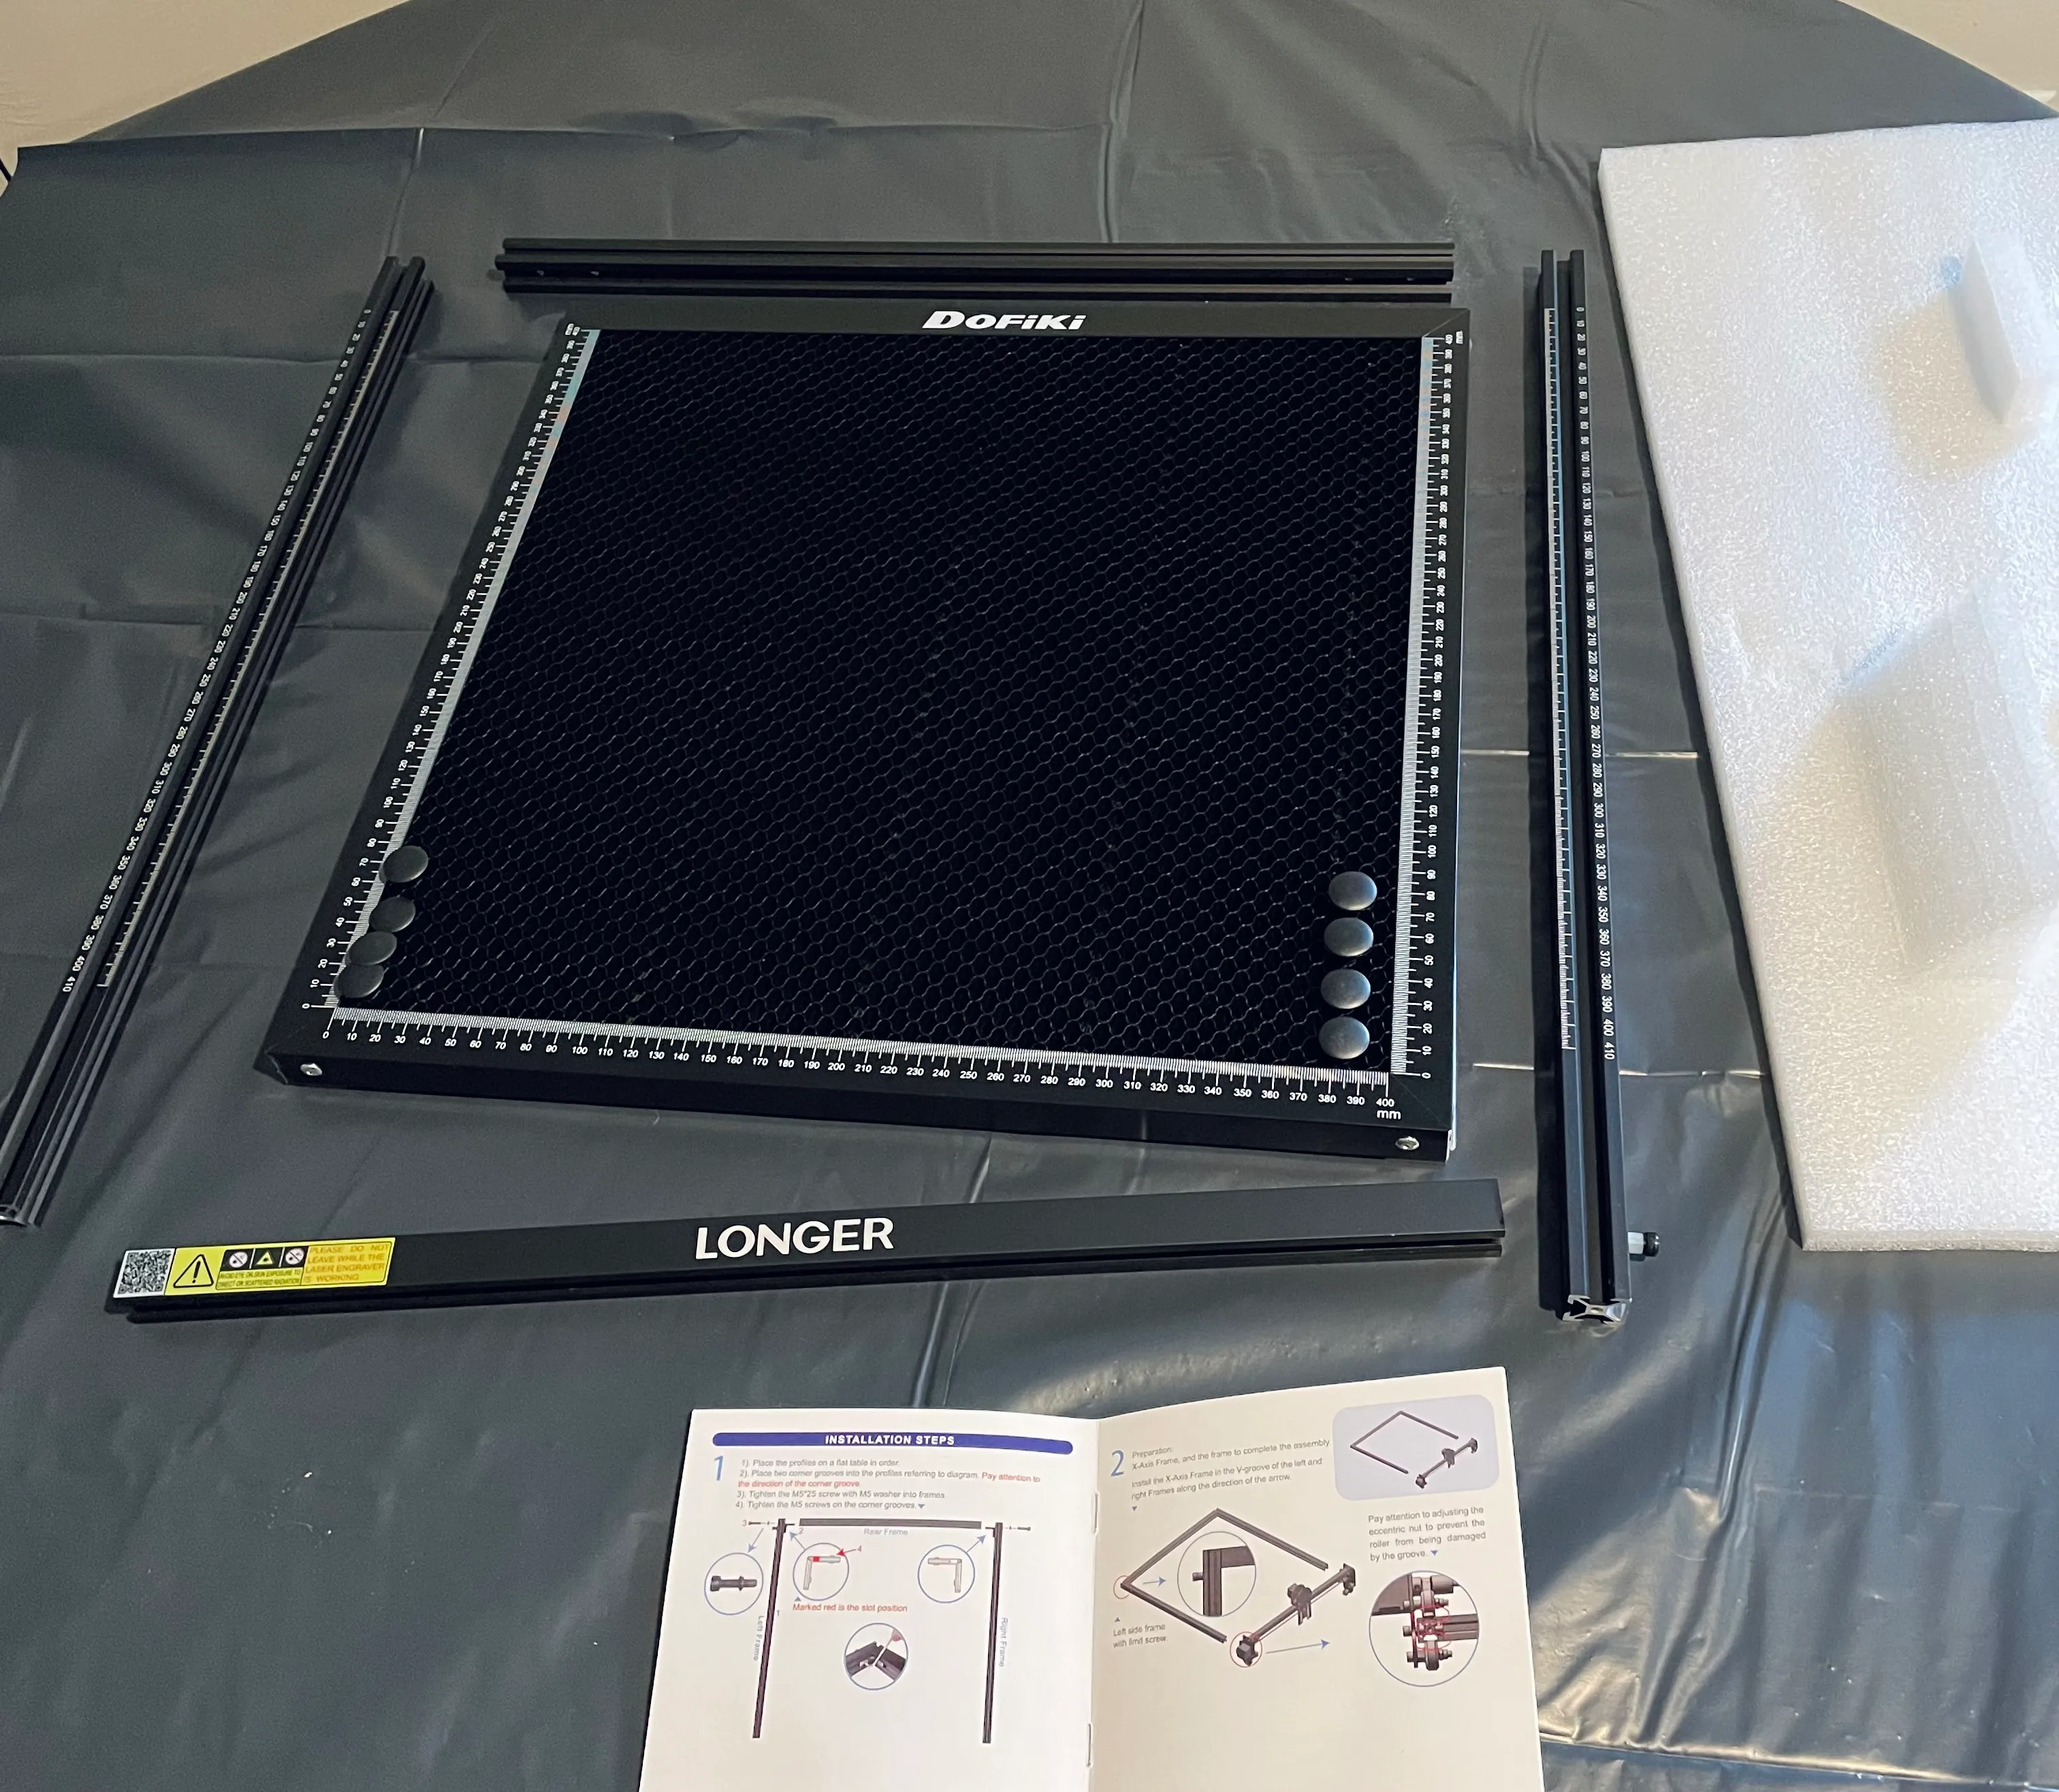
This bundle I bought also came with a few accessories:
- A cutting table or engraving grid, which helps when cutting through things
- An air assist, which is a mini compressor that pumps air next to the laser, which helps cool it but also cleans the cutting area as it goes, greatly increasing the cutting power

Putting it together was pretty straightforward, if you’ve ever worked with aluminum extrusion before like with 3D printing, this is about the same.
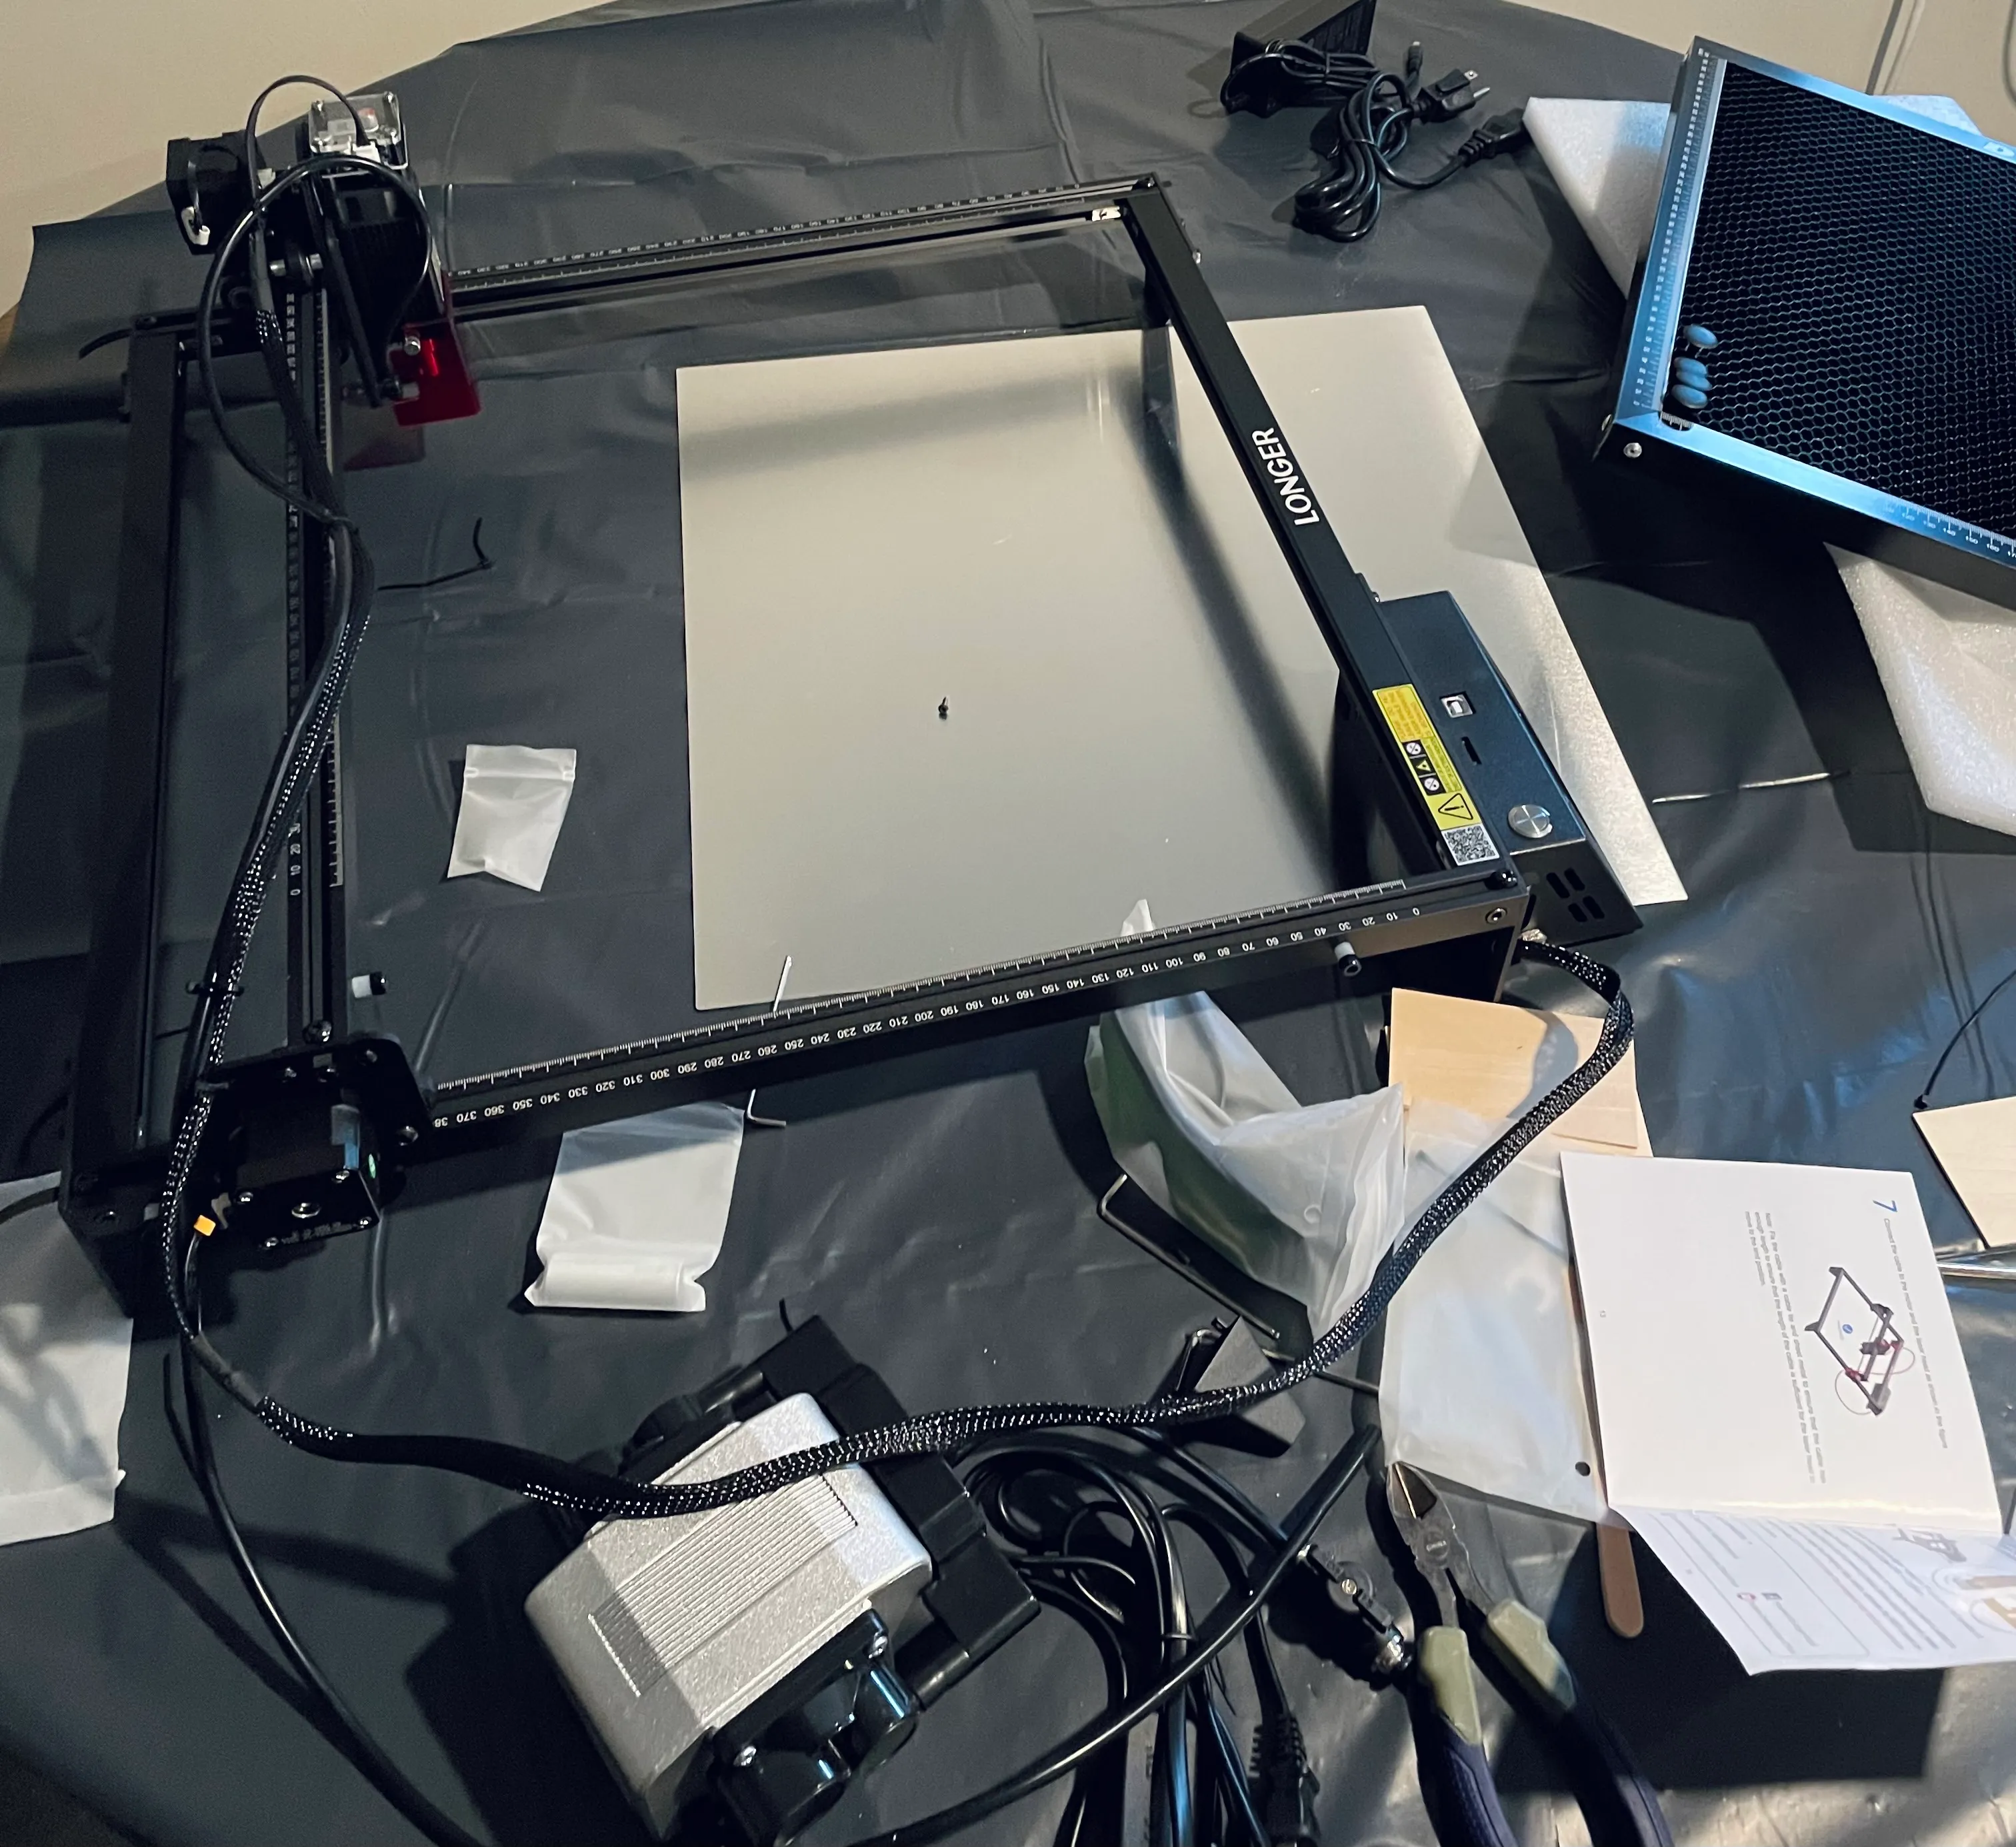
When setting it up, really make sure the cable management is solid. If the wires sag and get in the way of the laser head during a cut, it’s totally possible you could ruin your engraver or set it on fire or something.
Also, I HIGHLY recommend you secure it to a “spillboard”, something solid you can move around and won’t care if it gets laser’d on. For me, I used an old piece of plywood.
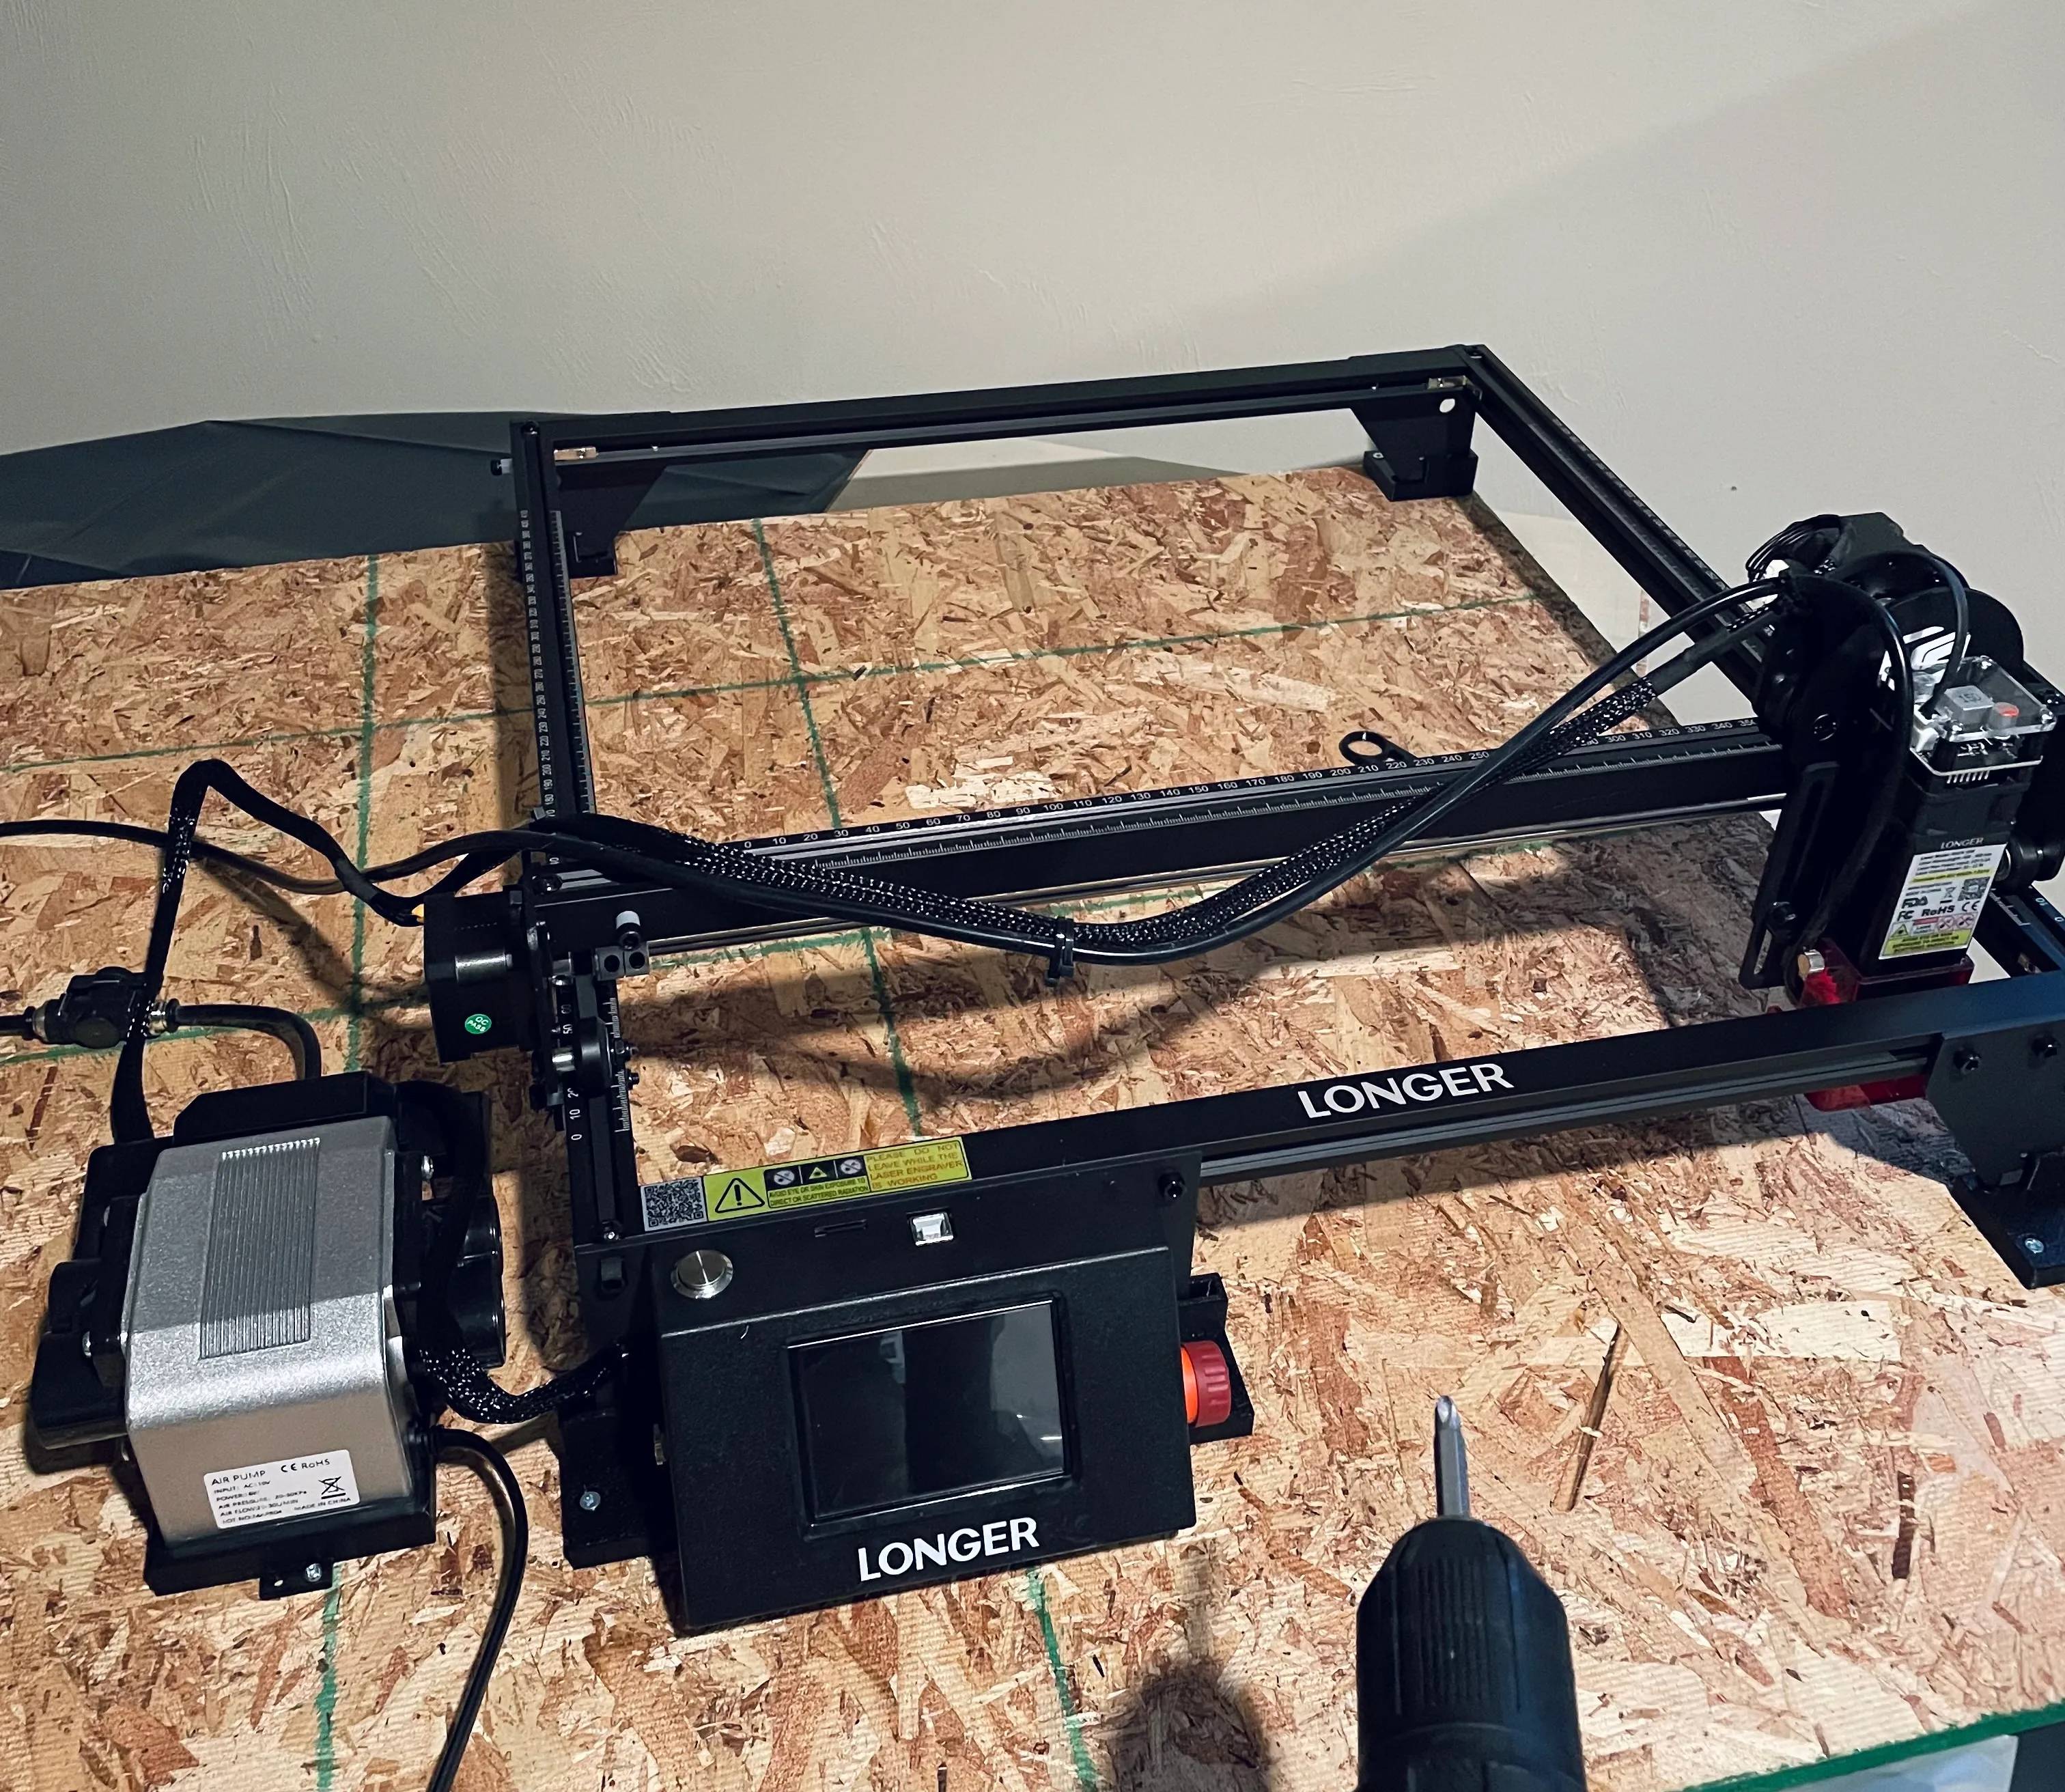
If you get this particular laser, there are a few mods and accessories I highly recommend 3D printing:
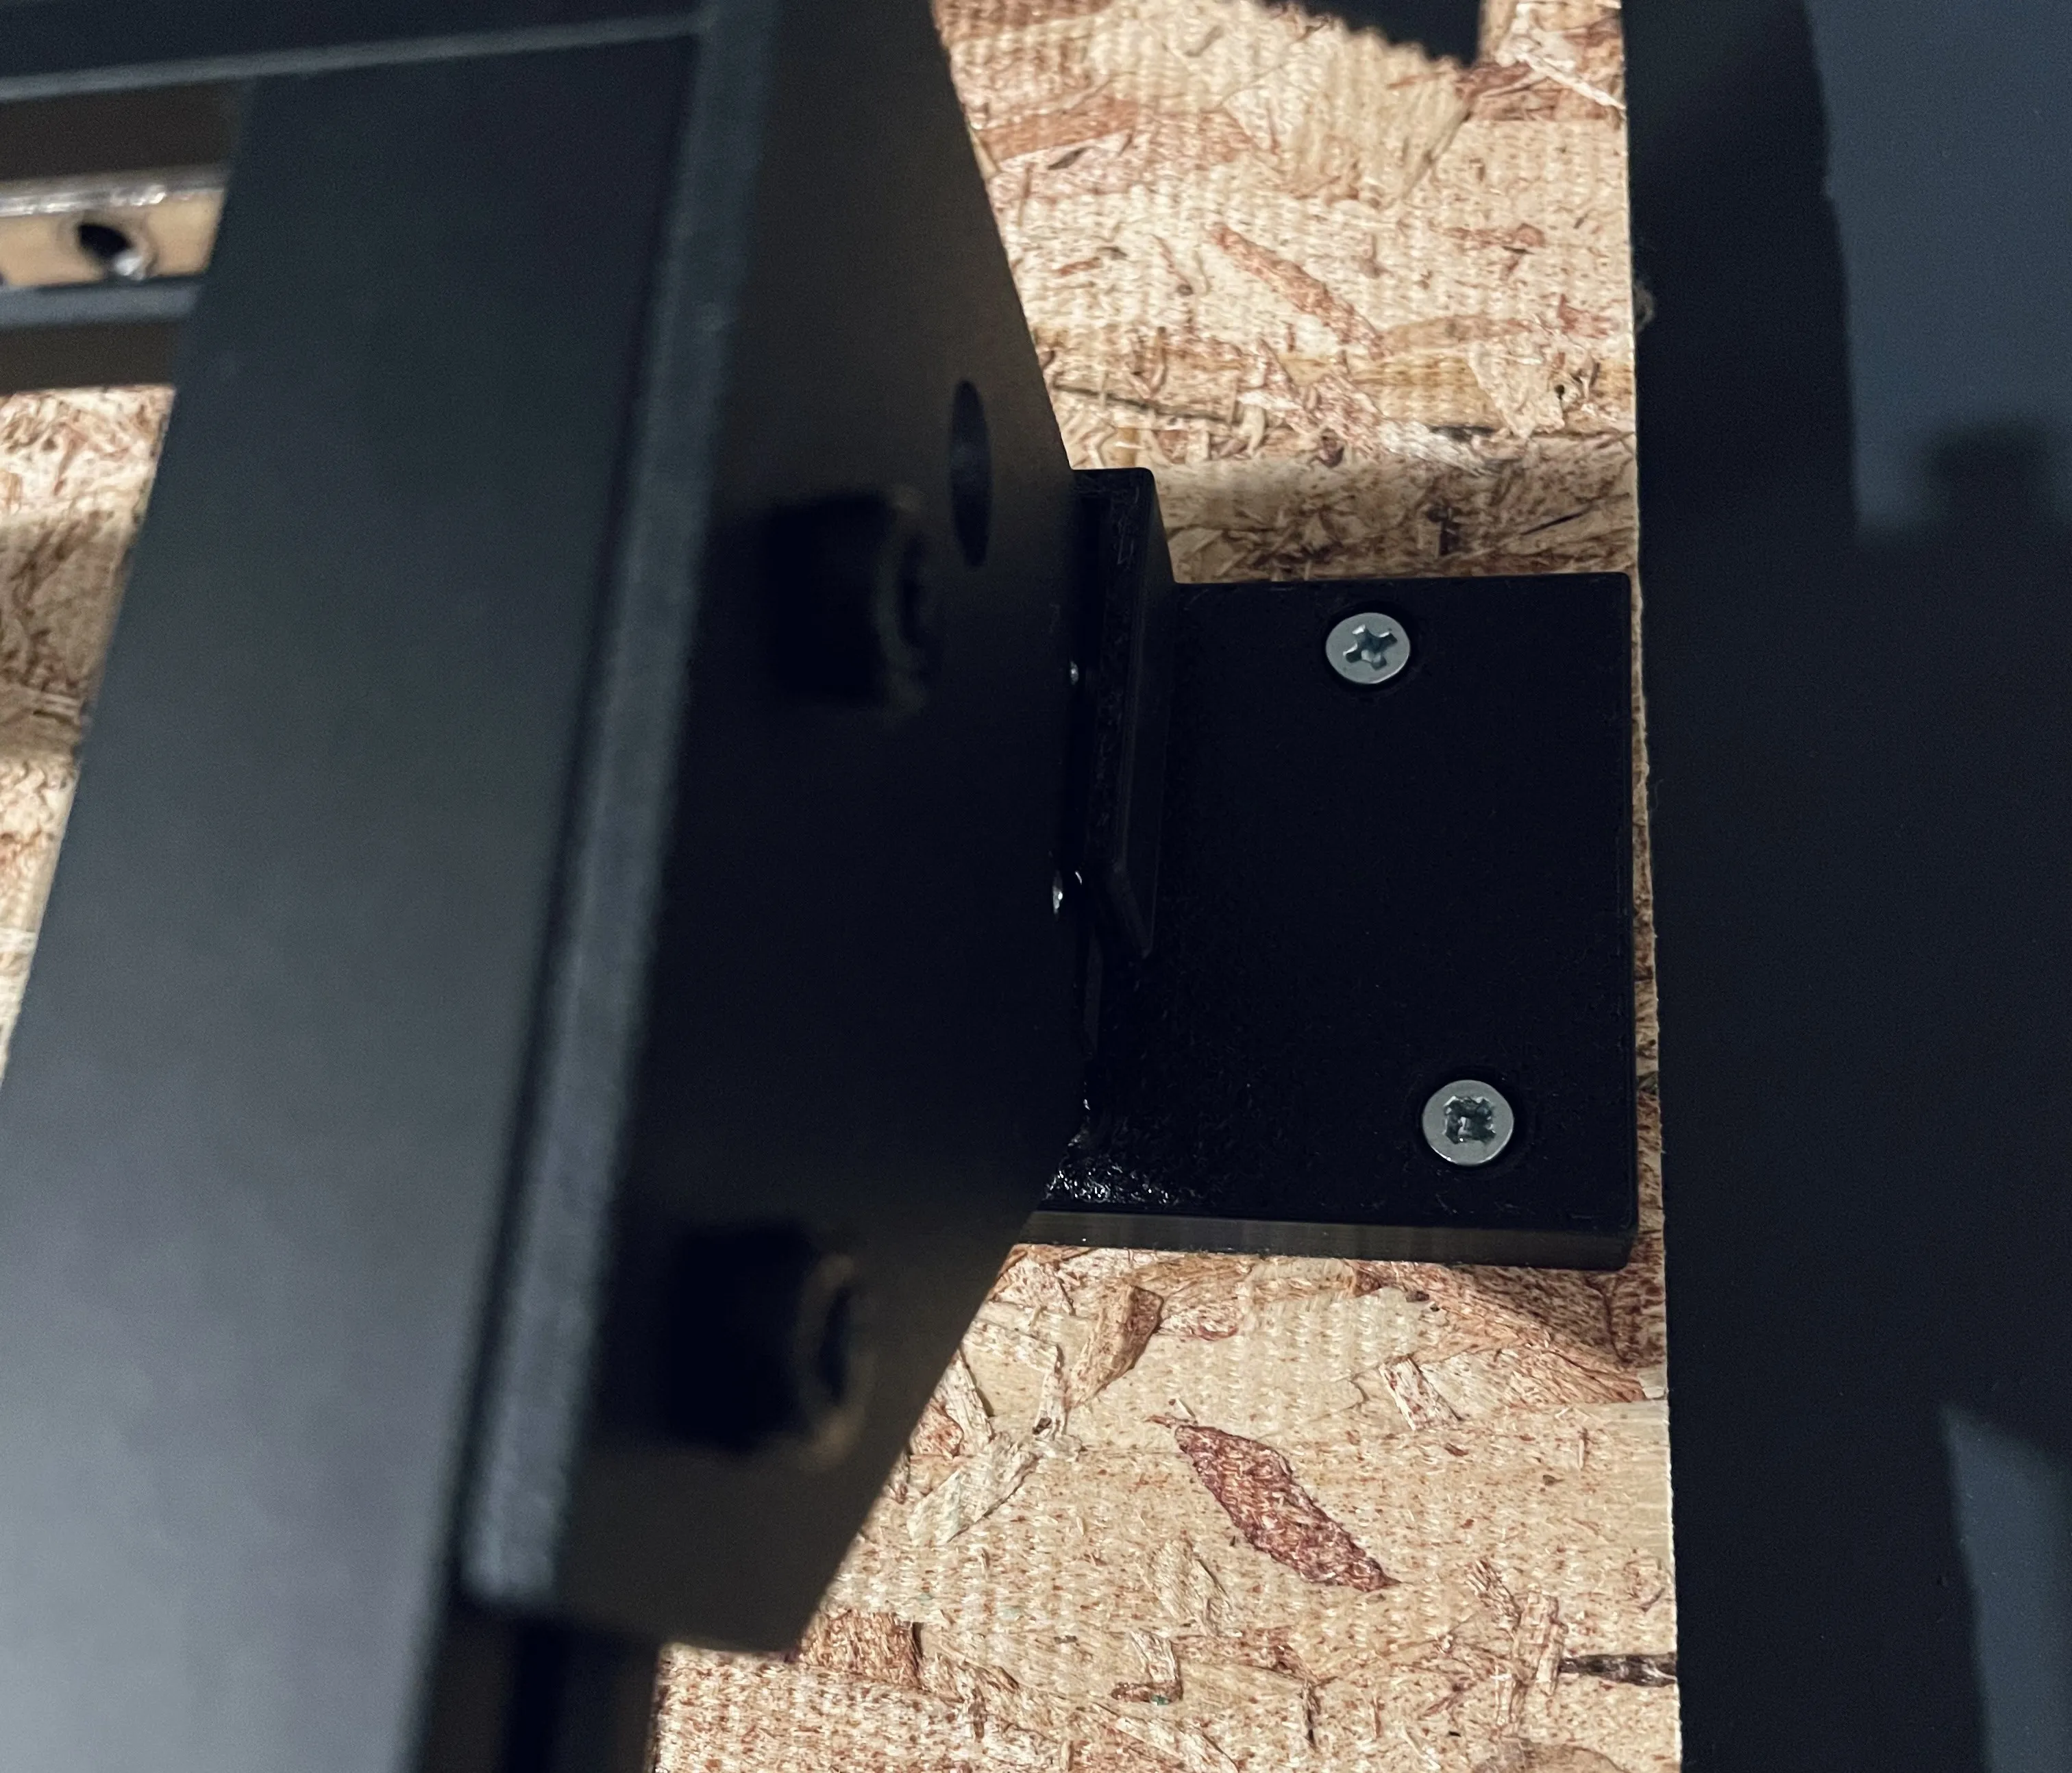
- Legs you can screw to the board so it doesn’t move around (makerworld)
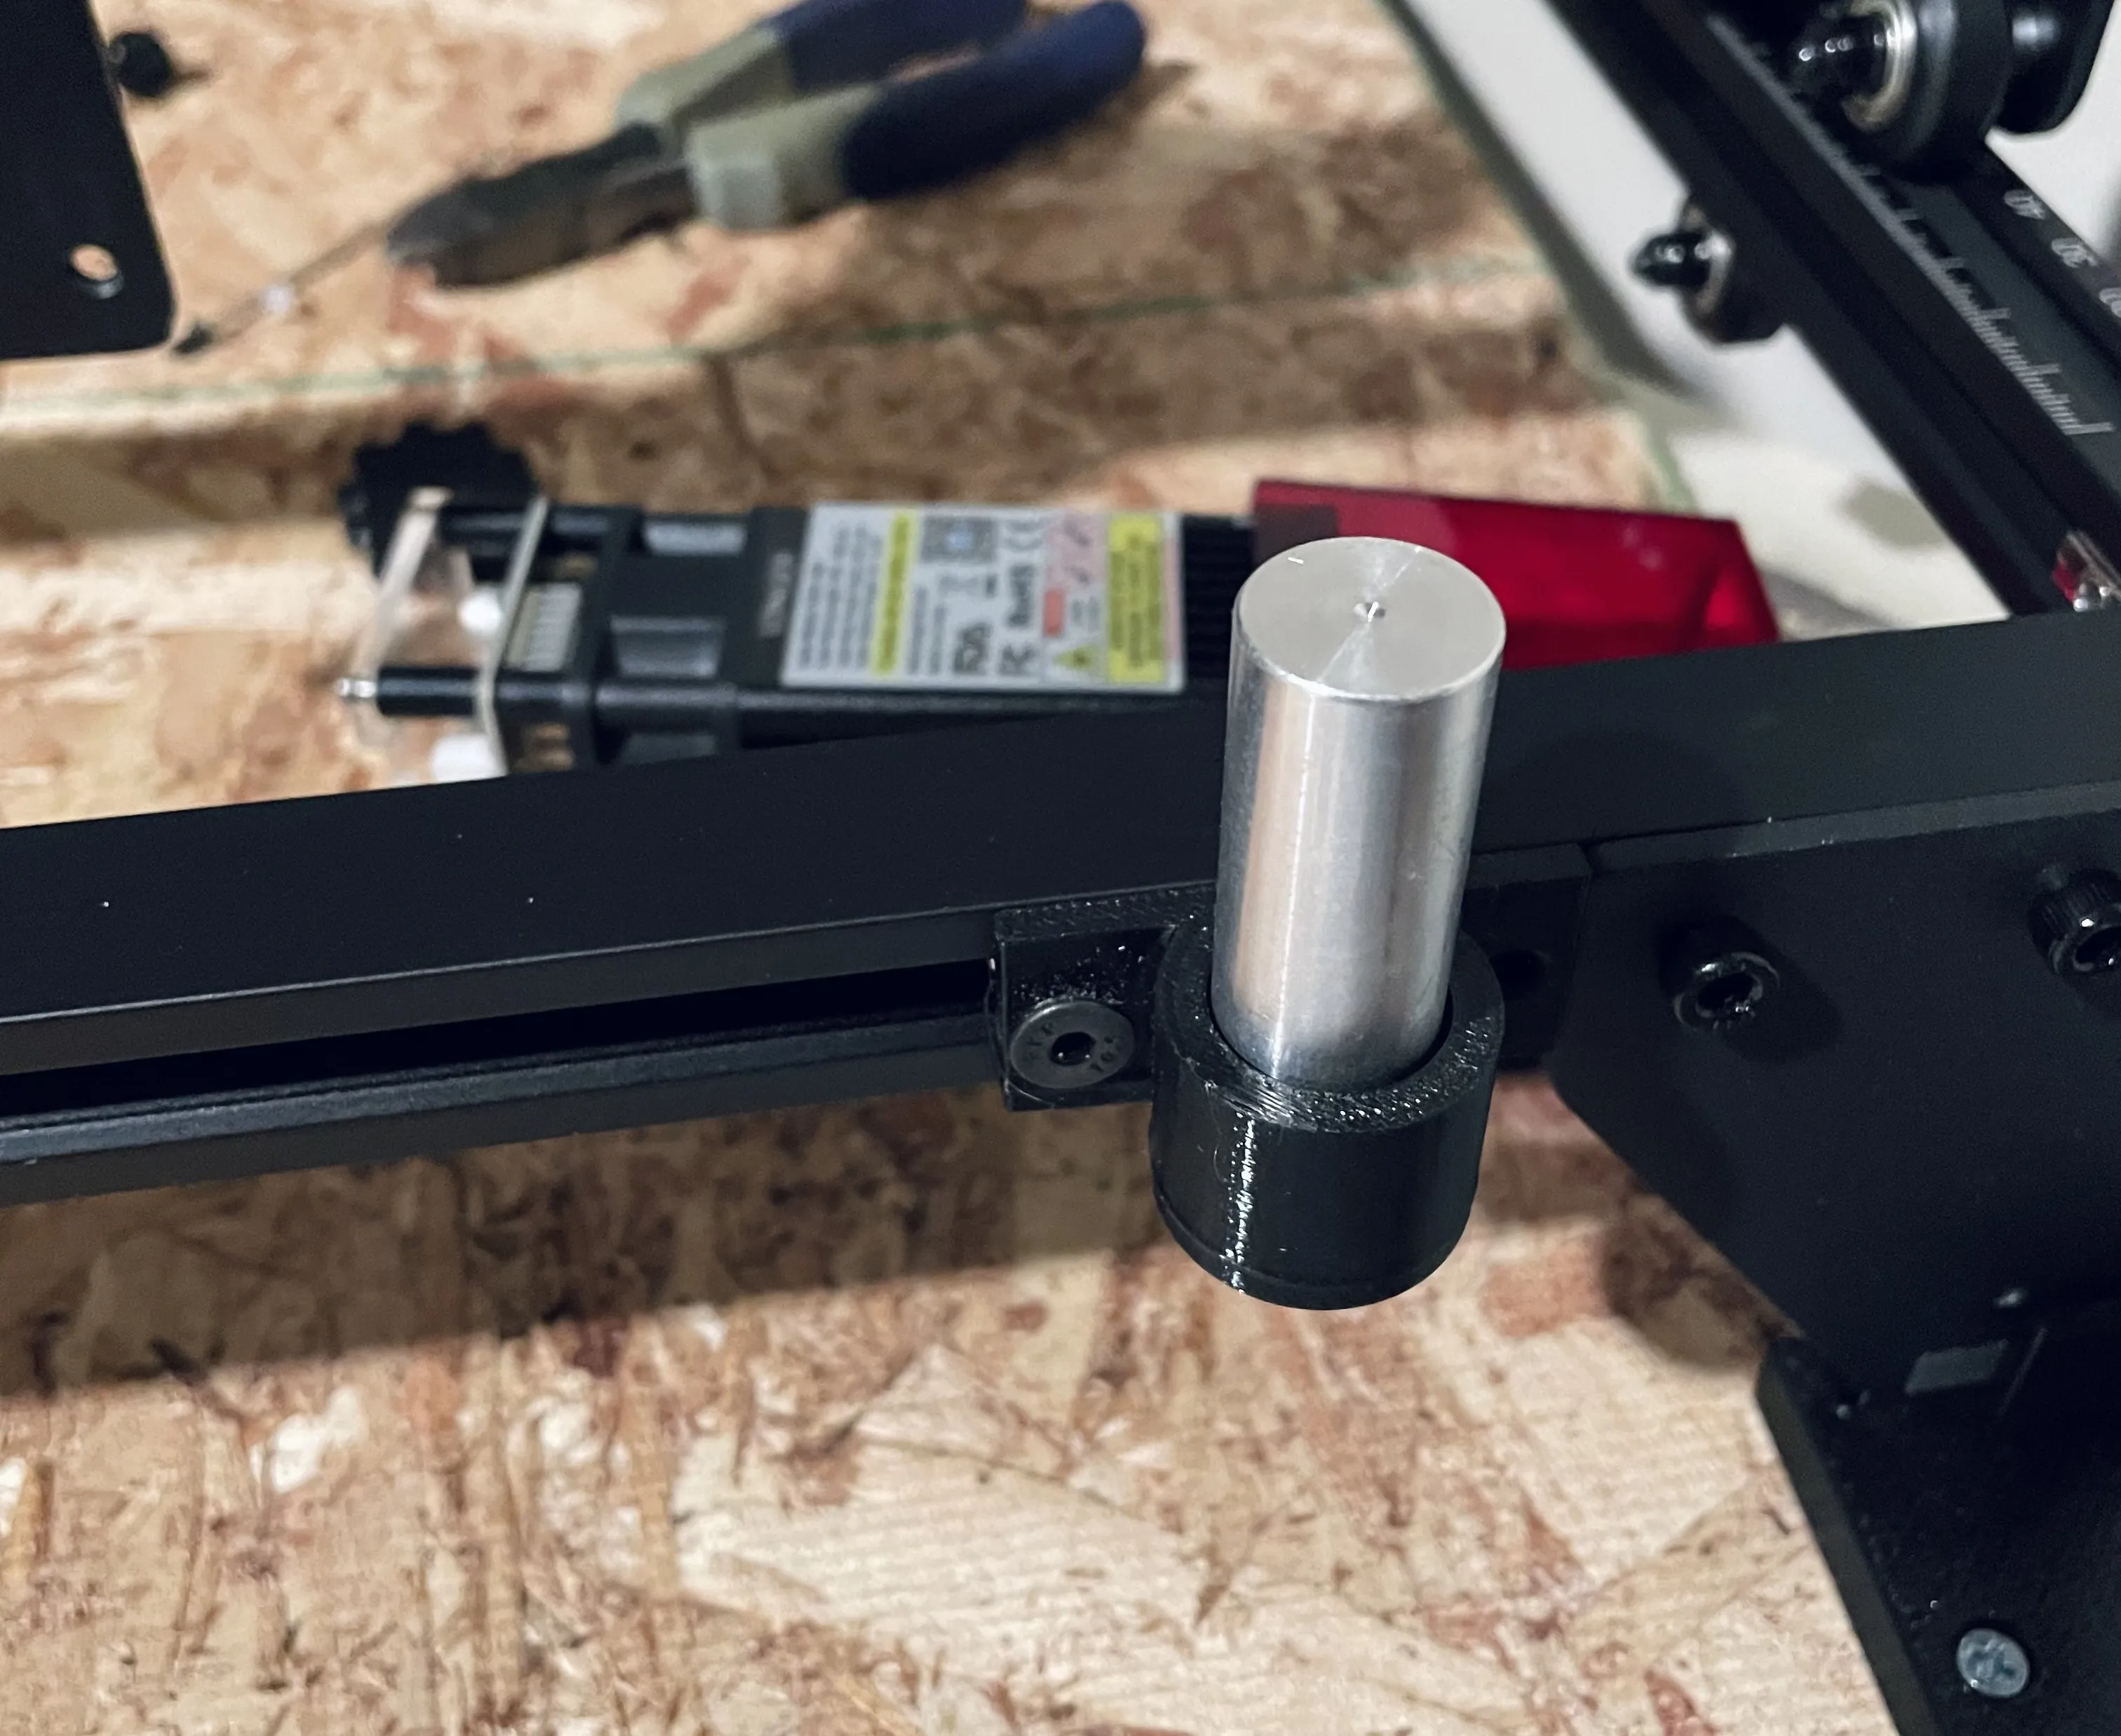
- A rail holder for the calibration cylinder (makerworld)
- A holder for the air assist (makerworld)
- Cable management rail guide (makerworld)
- A rail holder for your safety glasses printables
Z-Axis Screw Mod
The other thing I’d REALLY recommend is doing a Z-axis screw mod for the laser head. In my opinion, this laser has one real big flaw and it’s that fiddling with the little thumb screws to adjust the head up and down is a nightmare.
Unfortunately for me, the existing Z axis screw mods people made for this 10W laser don’t work, because Longer changed the backplate design.
Luckily for you, I remixed and redesigned some of the mods to get a version that works <3 here’s the files on MakerWorld.
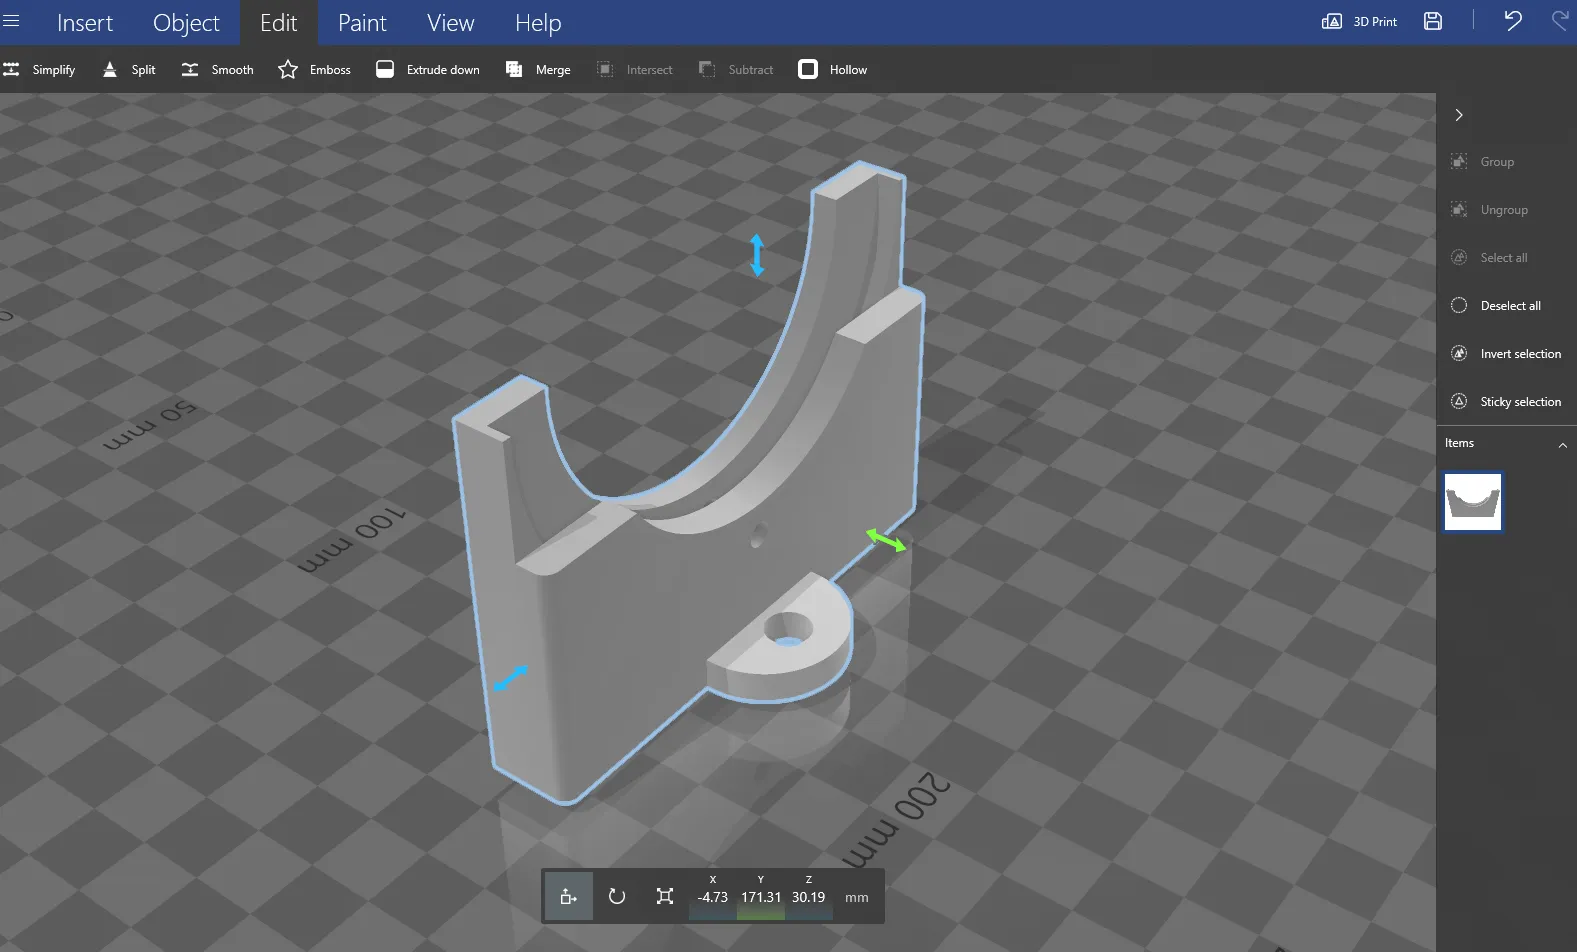
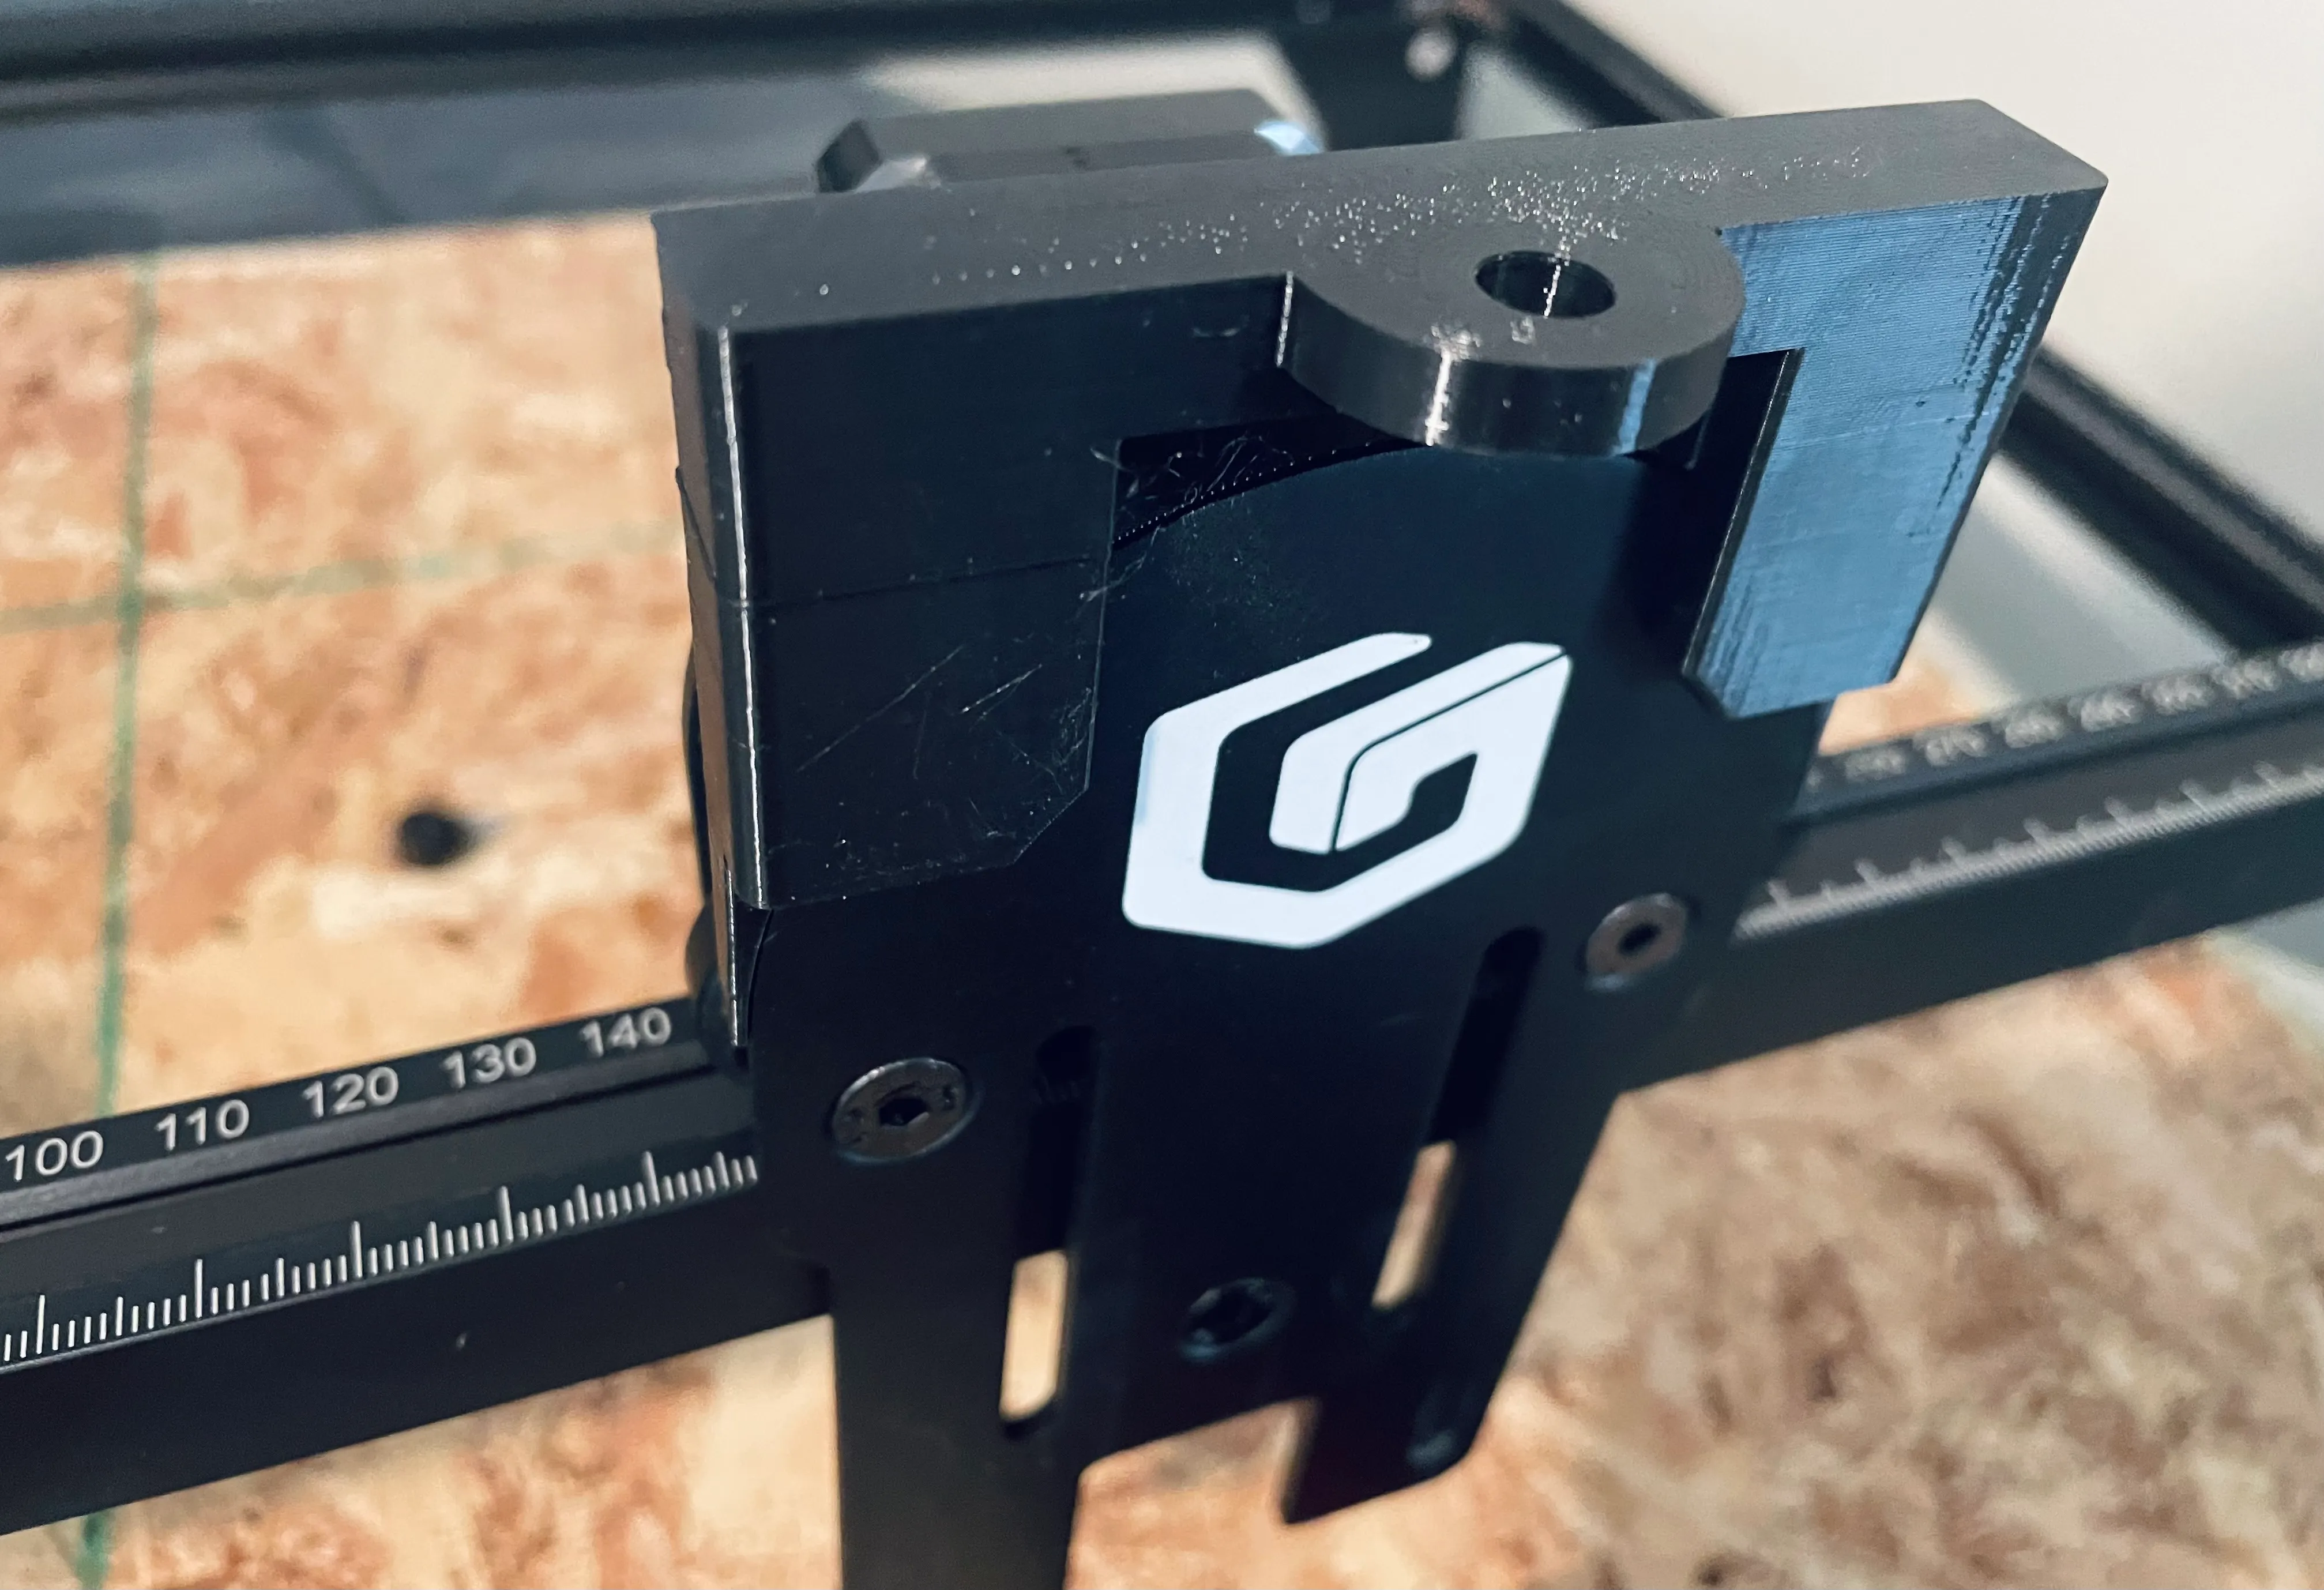
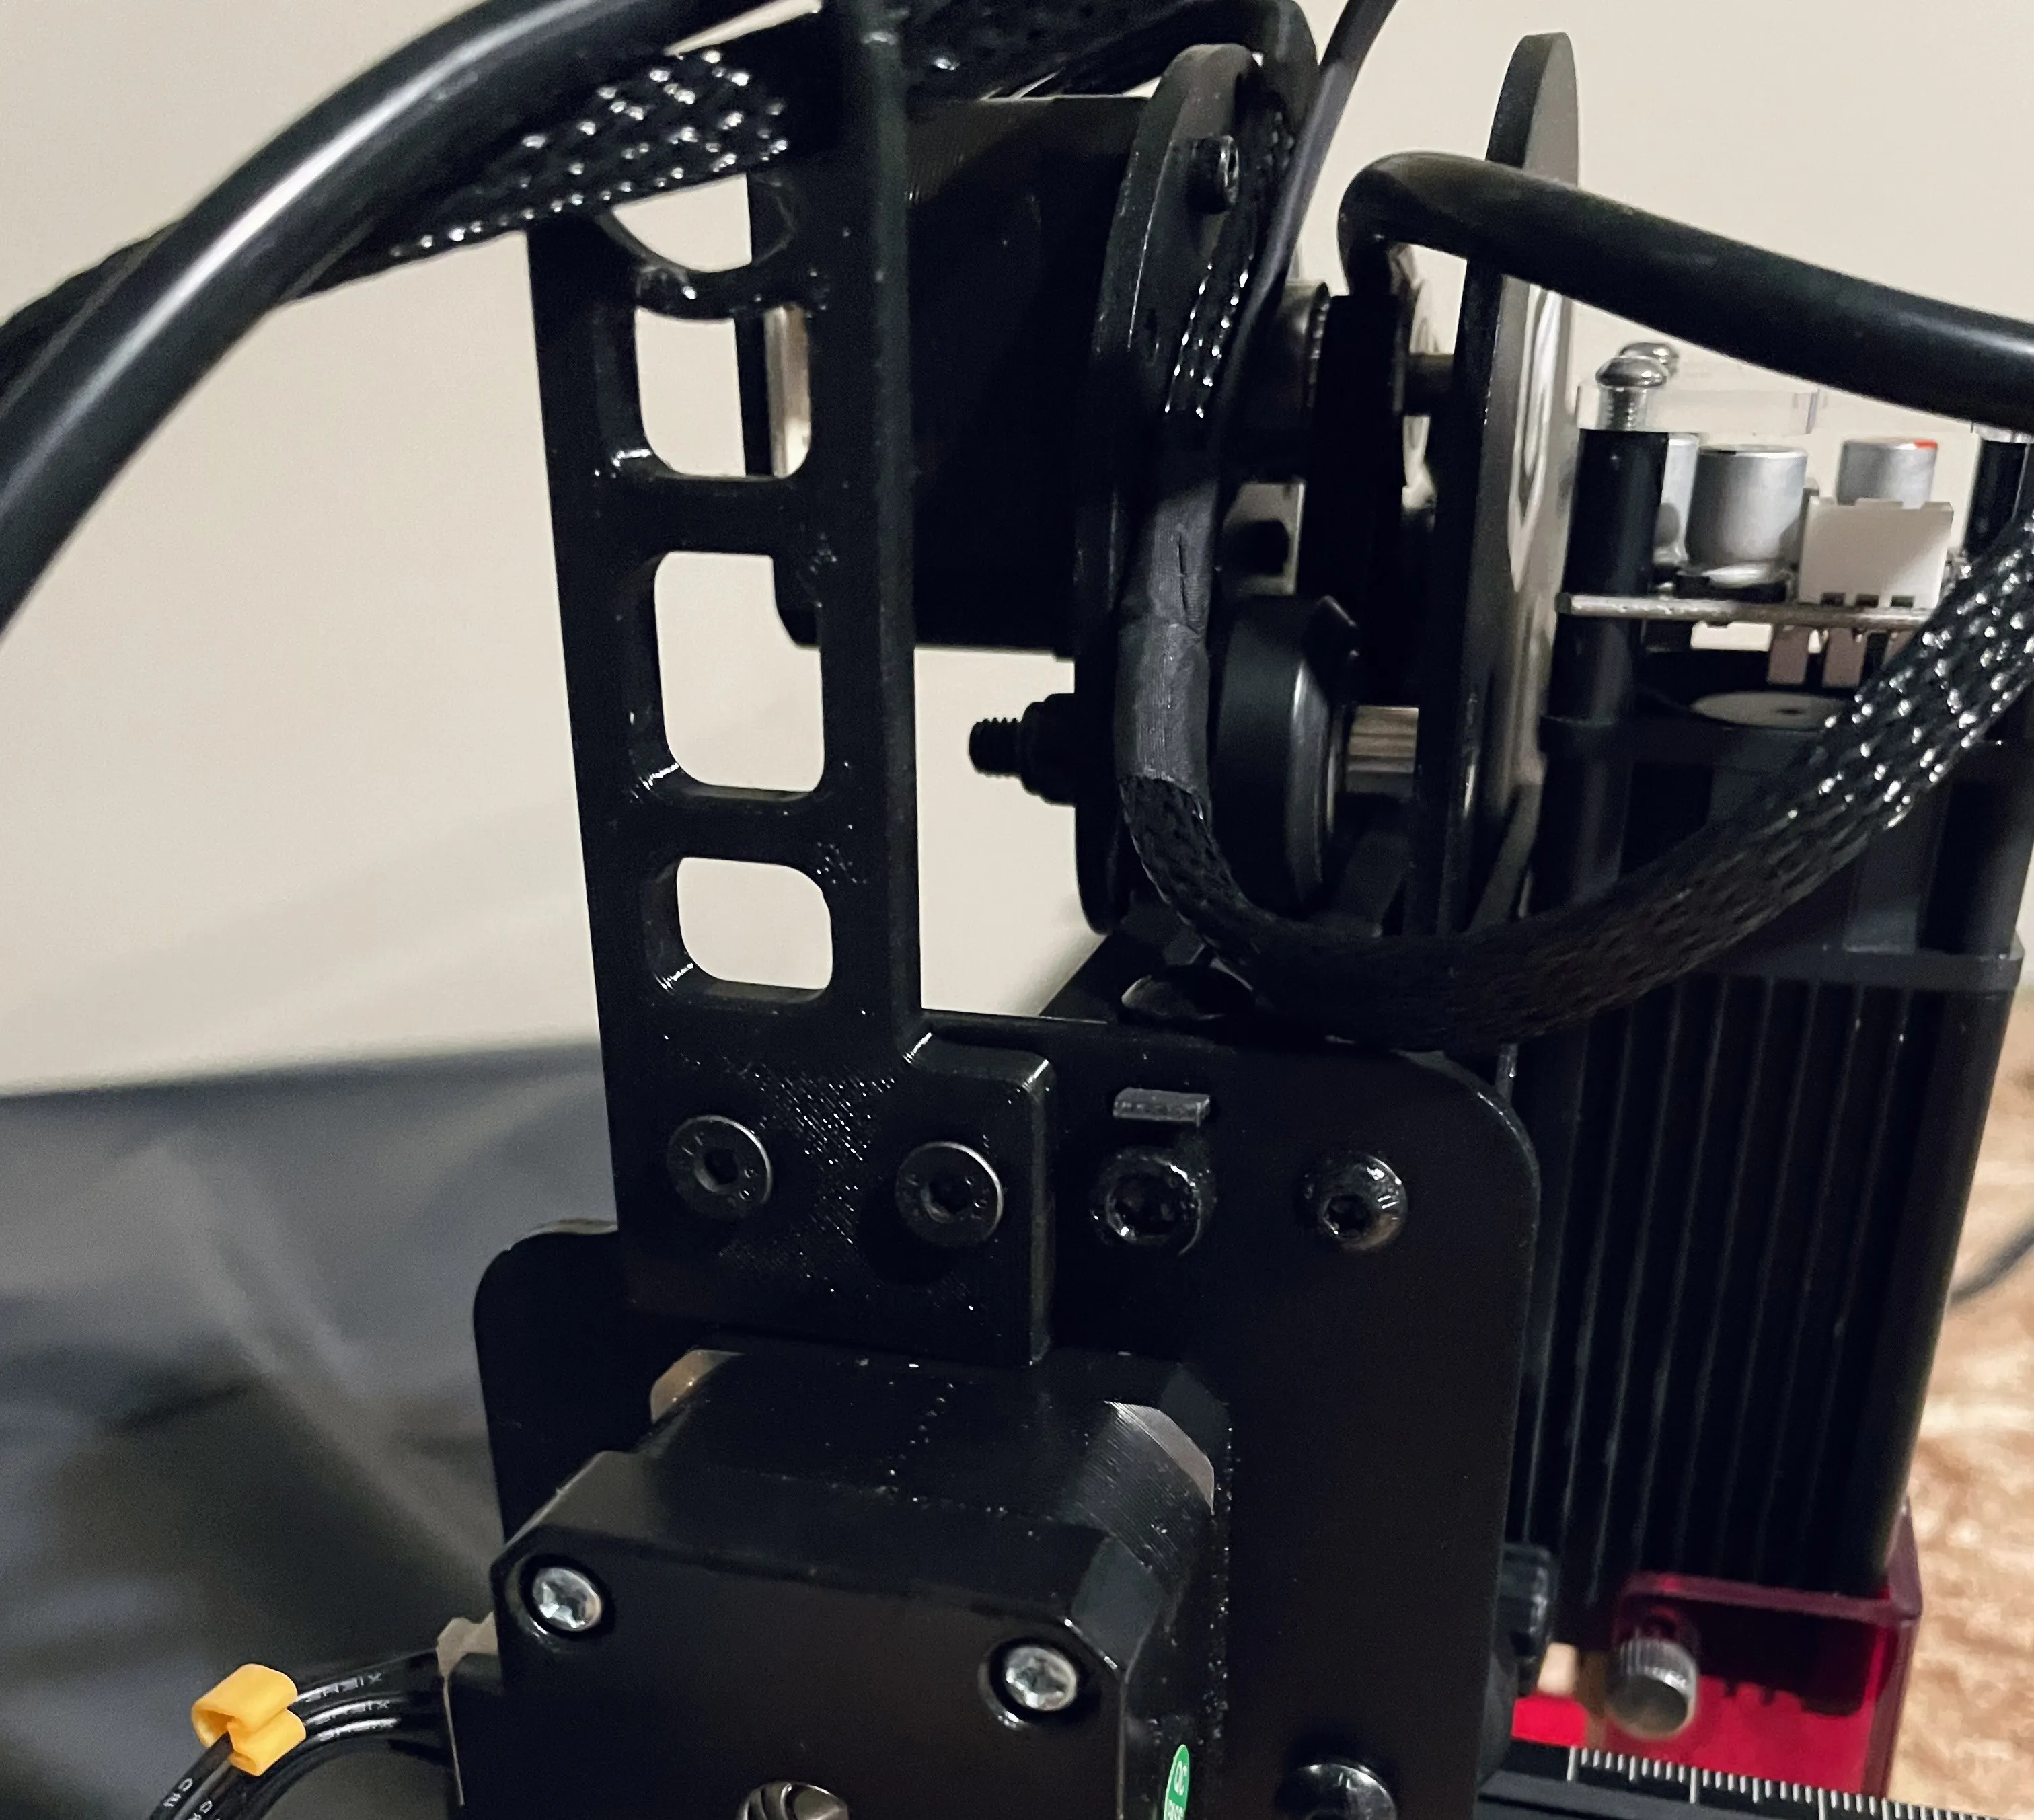
Basically, you’re going to install the top plate like so, and then secure it with a M3 bolt in the back of the plate. Then, you’re going to go get the necessary 1/4” by 20 bolt and nuts (sorry EU friends), and install them into the plate at the top of the laser head.
You’ll need to insert the nut midway- through the knob print, so it’s captured in place like so:
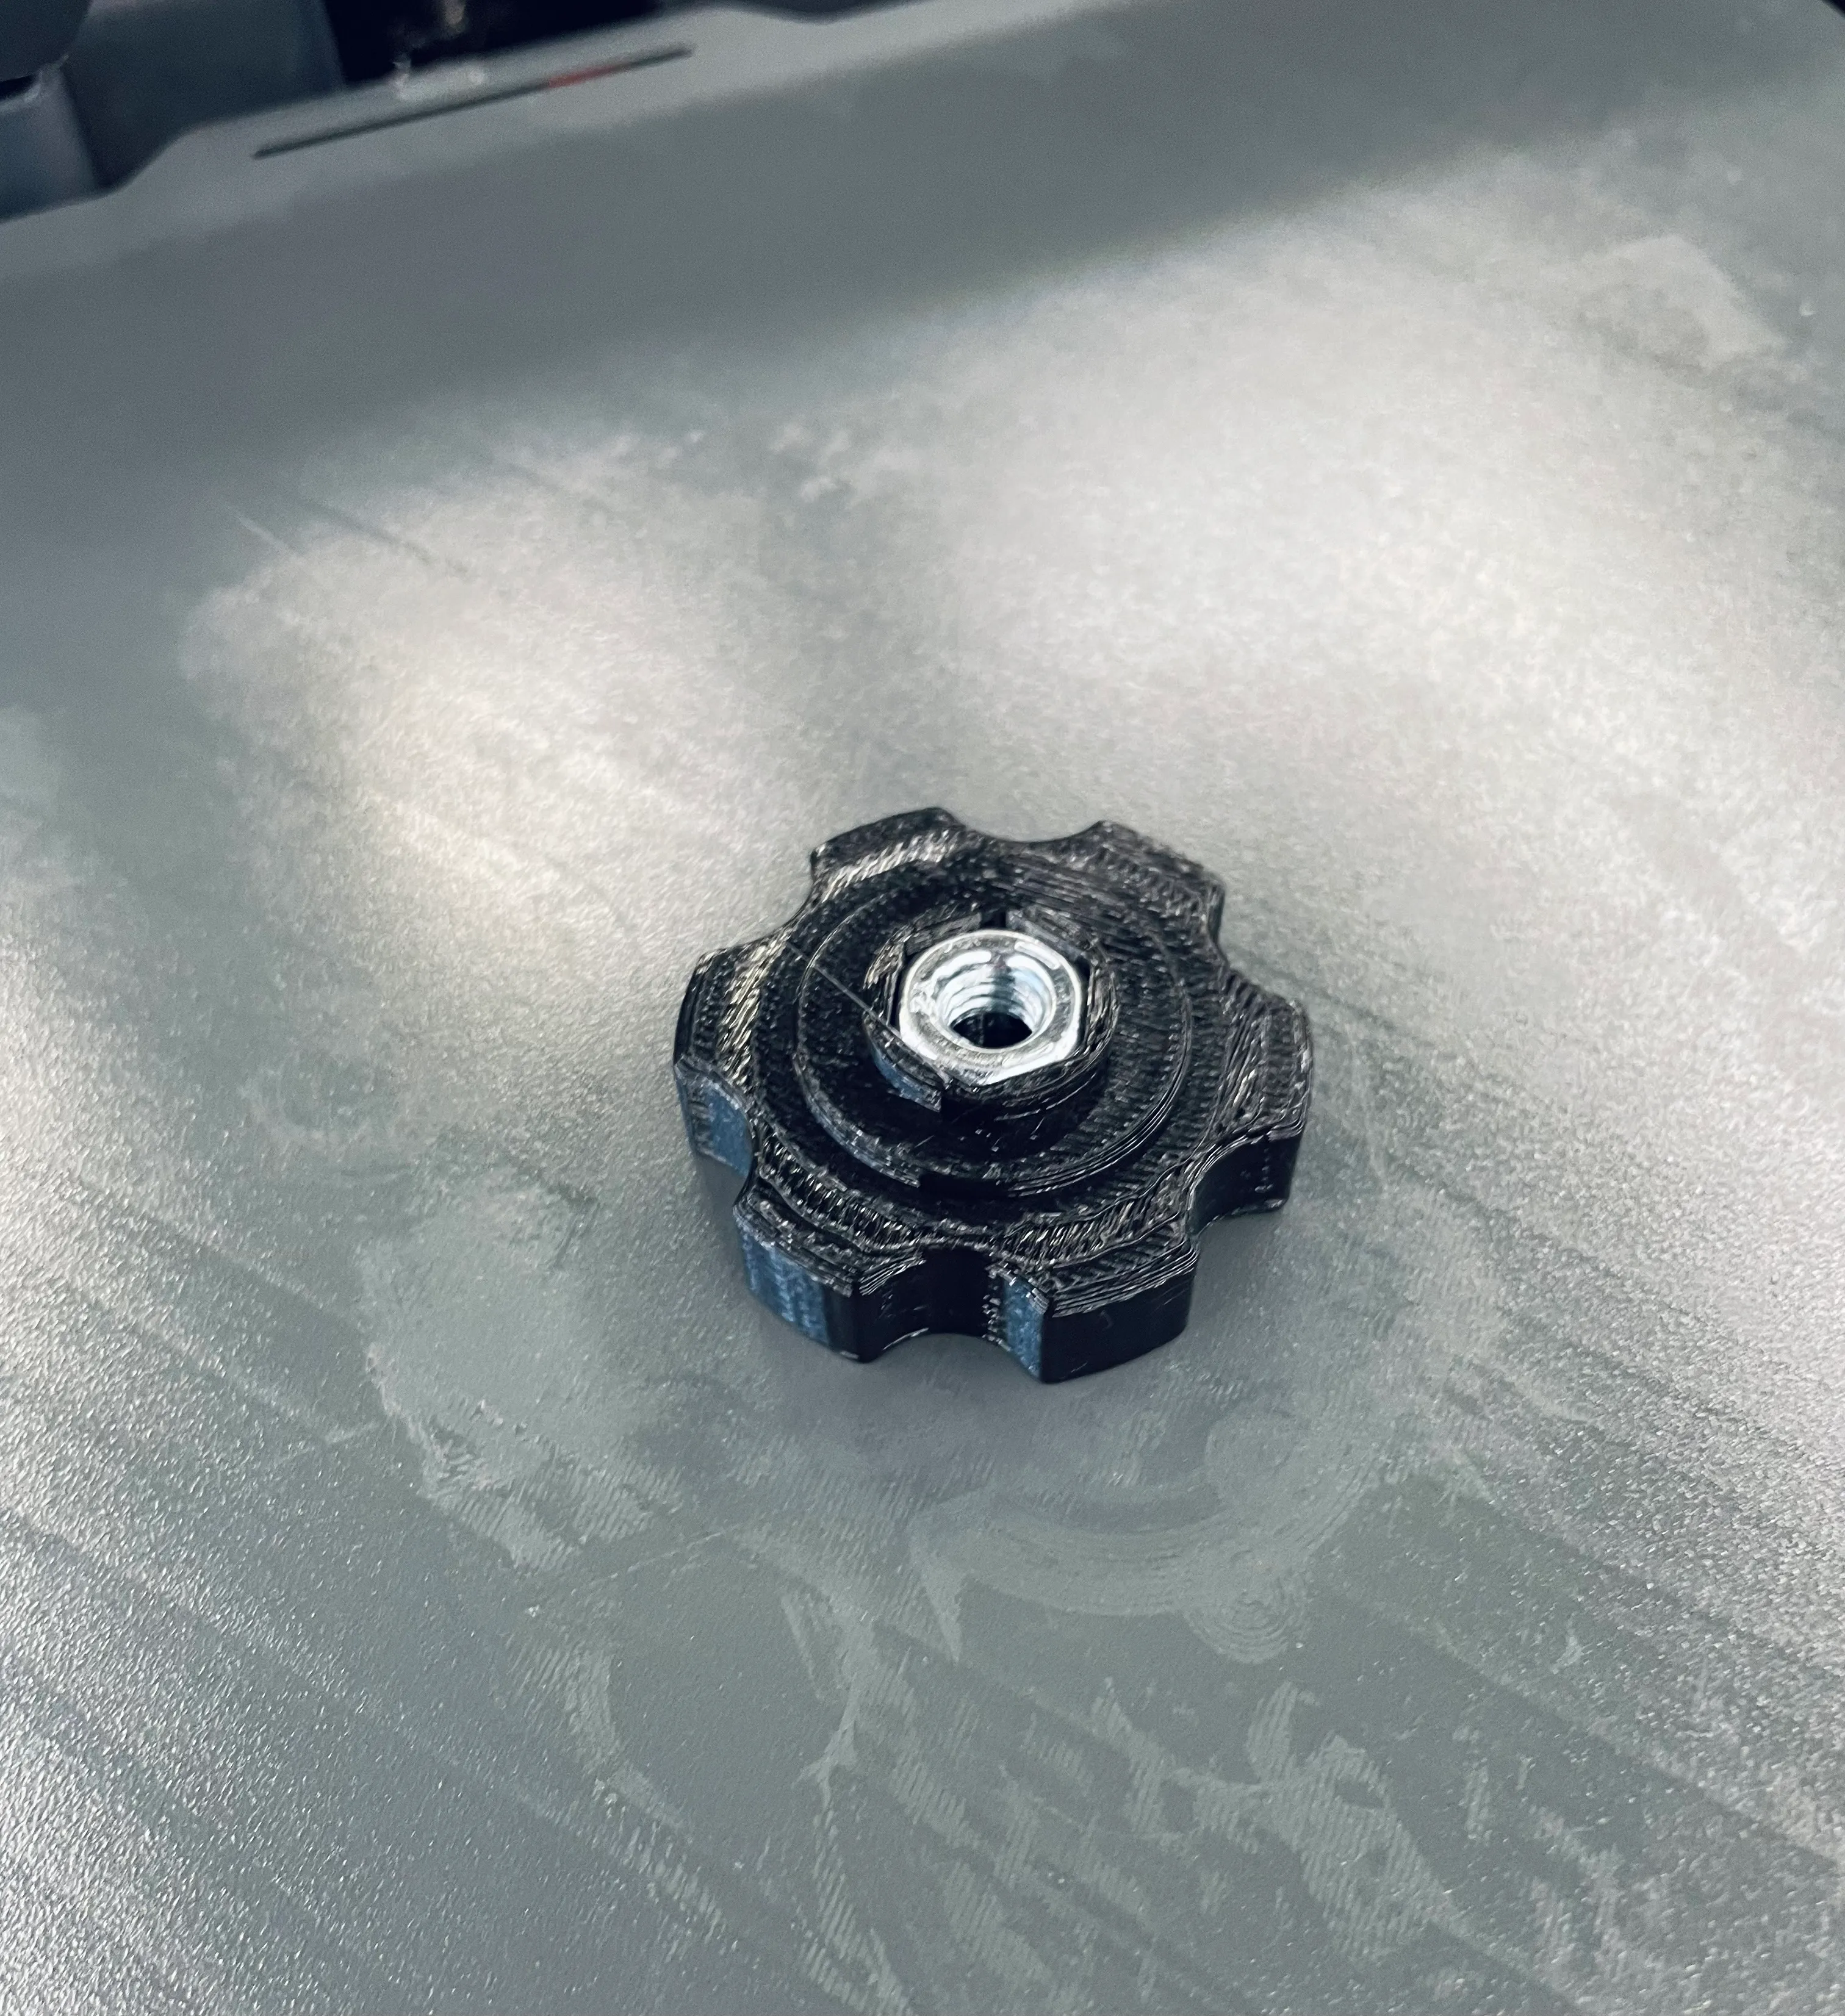
Once that’s finished, assemble it all together and now you can lift and lower the head by just moving the top knob.
I do recommend tightening the thumb screws once it’s in position, for stability.
Using the laser
There’s a couple different software options for running this laser, and I’ll be honest with you, coming from the 3D printing community (which rocks), all of these software options suck. Clearly they have some catching up to do, especially in the open source space.
After trying a bunch of different software, the one everyone recommends is Lightburn, and I have to agree with them. It is paid (yearly license), so watch out for that.
Running the laser can be done from the TF card inserted into it after exporting the file as a GCODE file, or you can connect the USB cable directly to a PC/laptop and run it from Lightburn.
After toying with both, I actually prefer running it from the USB cable, because it gives you a lot more options for fine tuning it, like running different framing options (without running the laser and accidentally engraving a square) and such.
Sometimes Lightburn wouldn’t detect the laser, if that happens just restart the program and after a minute it should work (make sure you have the right COM port selected and are using GRBL).
Material Profiles
The most important lesson to learn with laser engraving is this equation:
Laser Power (%) x Laser Speed (mm/s) = Amount of Engraving
The more power and the less speed you use (the slower you go) the more material you’ll cut away. I used the Longer 10W material profile PDF, which gives you a good starting point as to what settings to use for different materials: Longer 10W Material Profiles
As always, the best way to learn what settings to use is to experiment. If you check that Twitter thread, you’ll see I tried everything from coated steel to a slice of bread (seriously).
Here’s what one of my first attempts looked like on balsa wood:
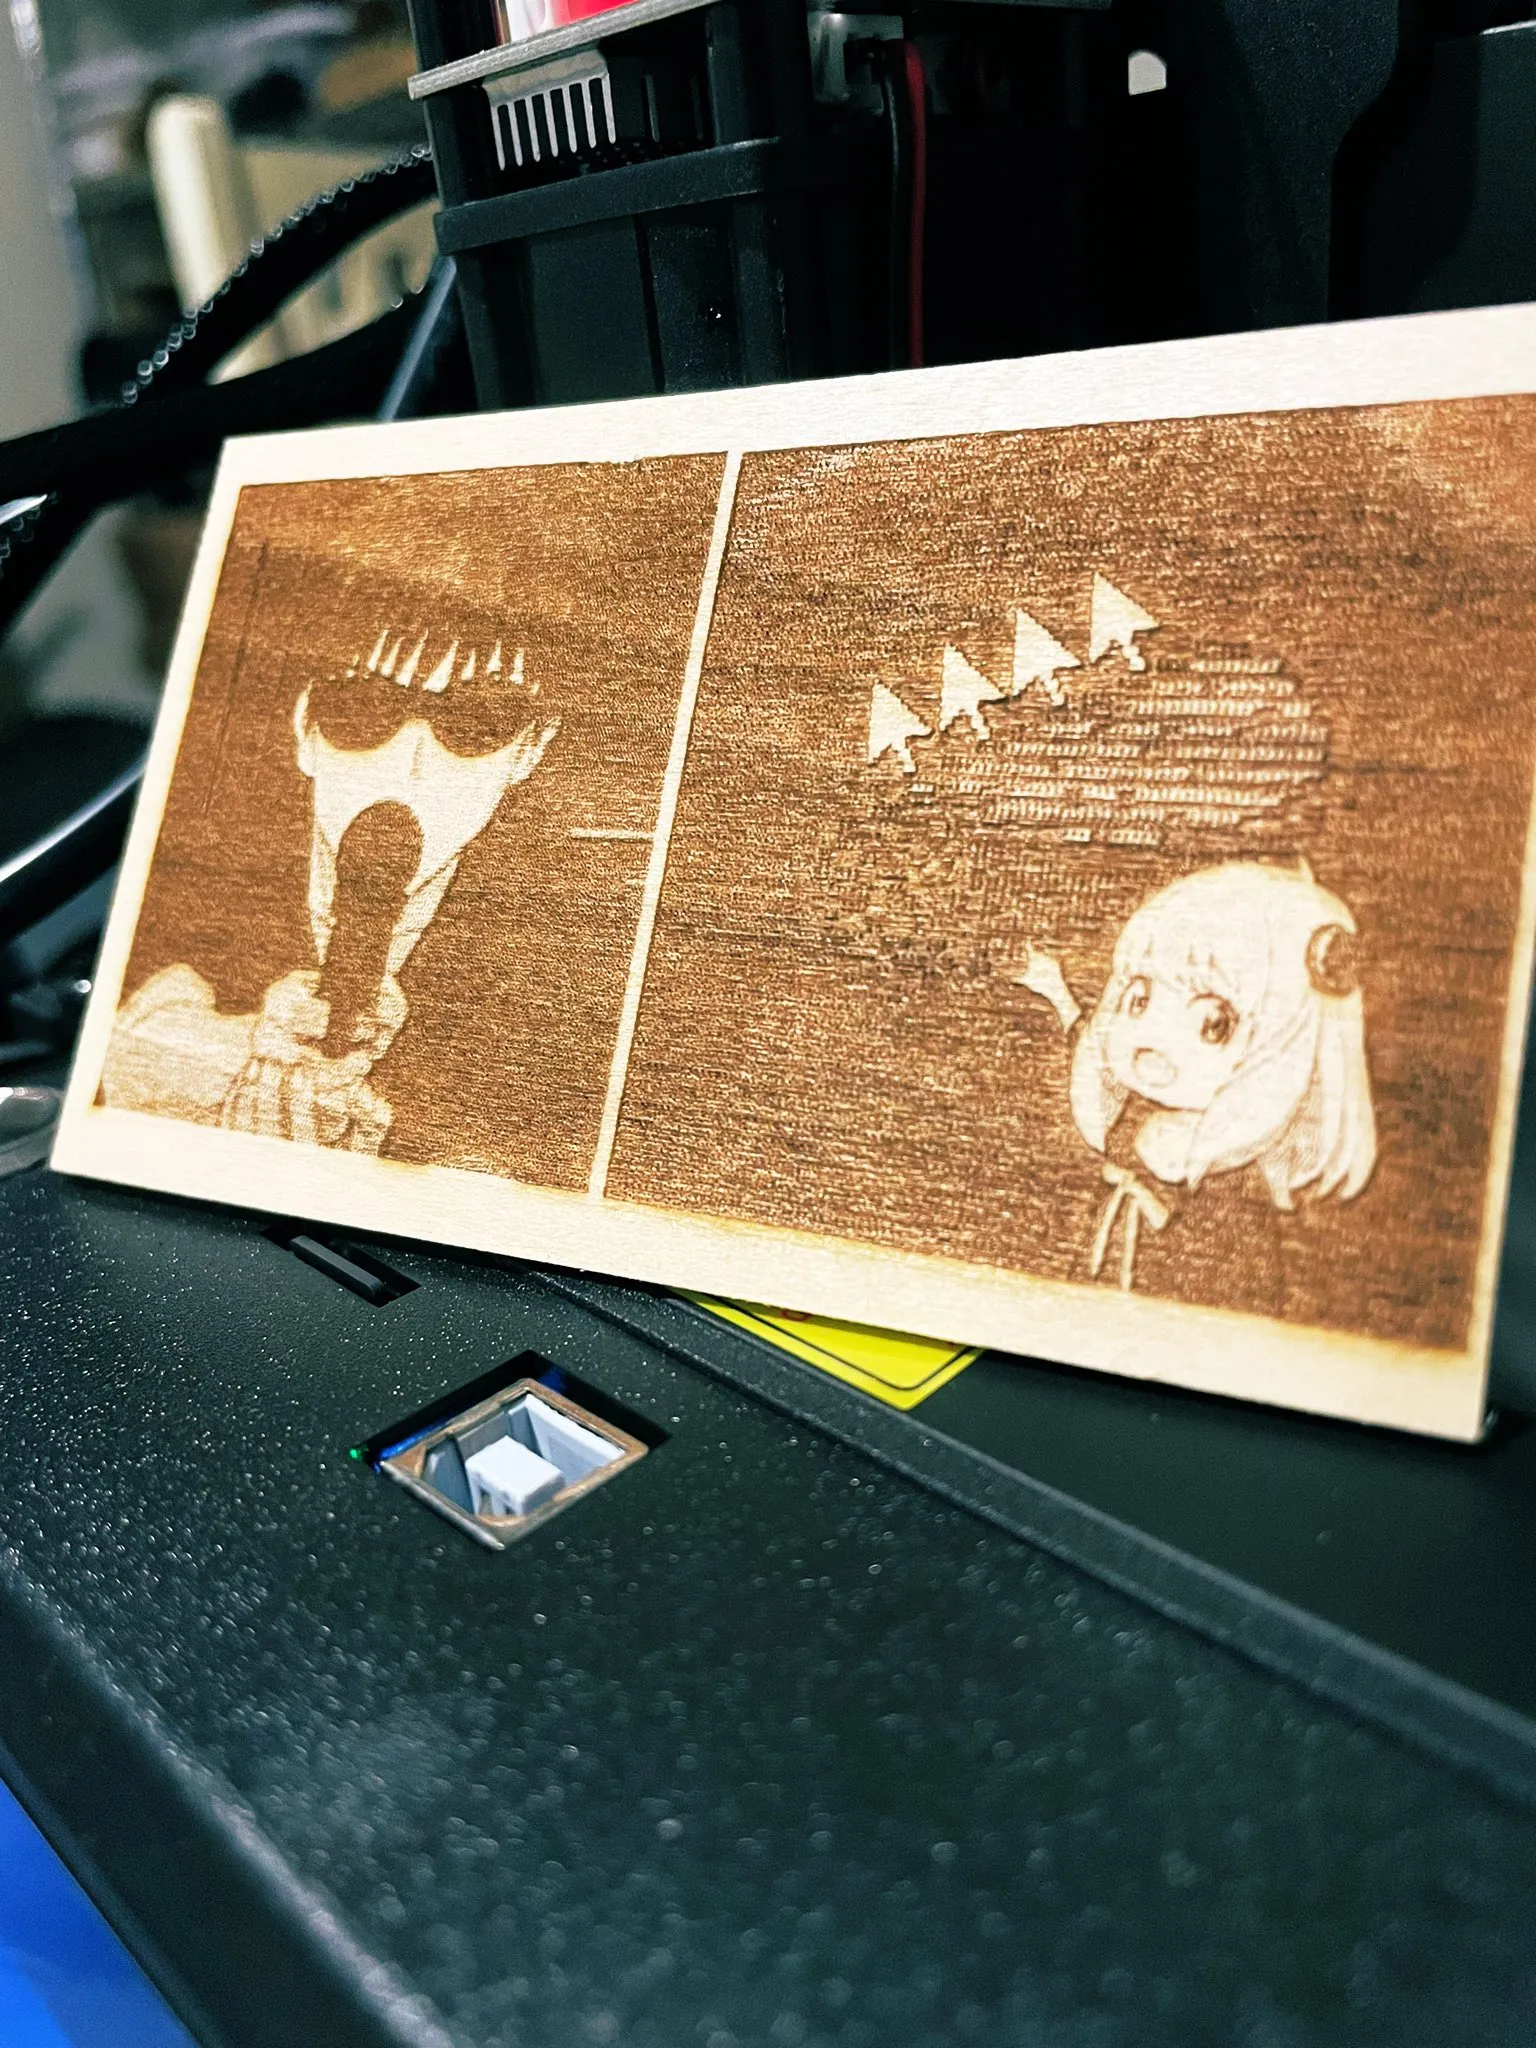
Note how bad the contrast is, I had my power set way too high for the material I was engraving, and my settings on the image itself in Lightburn were off.
Over time I learned to correct this, and by the end I was engraving anodized aluminum with much better results:

Also, I’d highly recommend marking a grid on your cutting area, or doing what I did and 3D printing a jig to hold the item steady. By doing that, I was able to get the placement on these business cards MUCH better by the end:
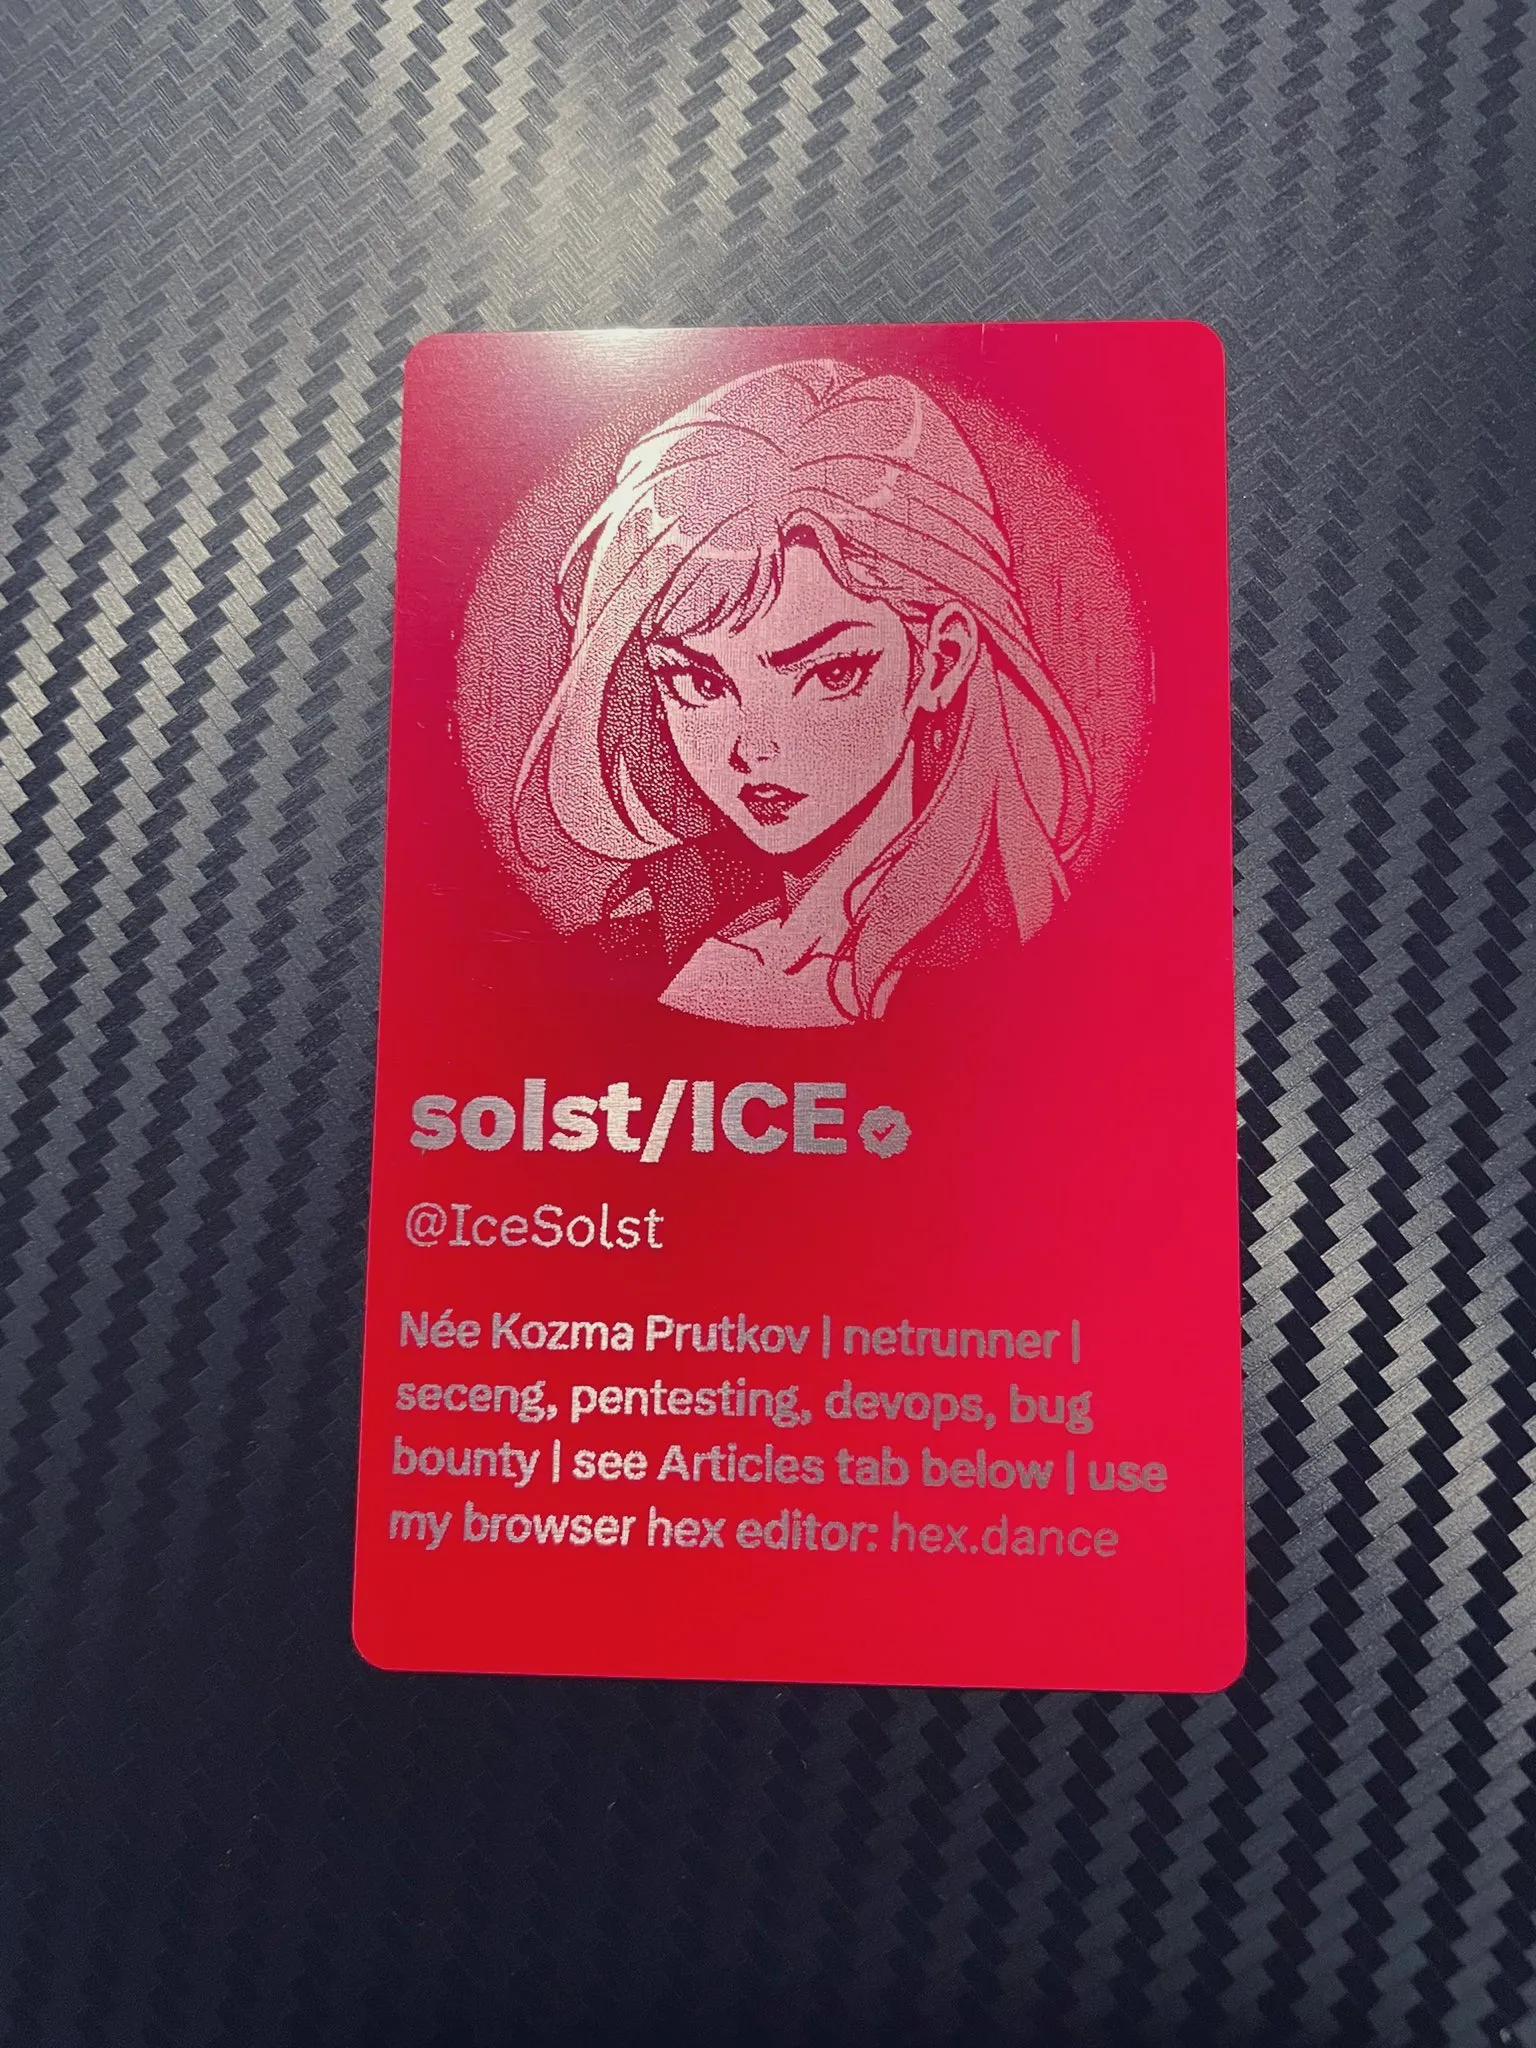
Business Cards
If you’re hoping to recreate the business cards I did, I ordered a set of anodized aluminum business cards off Amazon. These were pretty cheap, around $0.10 each for a multicolor pack.
The idea here, is we’re going to etch/engrave off the colors we don’t want, which leaves the base anodized color.
I also 3D printed this jig to hold the card itself in the same place while engraving.
Here’s the settings I used for these cards:
| Section | Setting | Value |
|---|---|---|
| Image | Power | 20% - 30% |
| Image | Speed | 6000mm/s |
| Text | Power | 100% |
| Text | Speed | 6000mm/s |
Resources
In closing, here’s some further reading and videos to watch that’ll go over the details of setting up and using this laser: